I wanted to have a play do serious research with Windows 10 IoT Core for Raspberry Pi 2 (read more about that here). You can flash the SD card from any system but to get coding I required the full version of Windows 10 on a PC. I wanted to put this on an old machine as I don’t want to put an OS as wet as this on my main work box. I find it’s best to let any new operating system dry for a while before using it in anger. I’ve gone for the Long Term Support Branch but other versions are available. Unfortunately a Virtual Machine isn’t suitable for what I need this for.
As a side note; Windows 10 IoT Core is nothing like a normal version of Windows. IoT Core has no desktop or shell. It doesn’t run standard Windows applications. If you want to use an office suite on your Raspberry Pi 2 then you should install Raspbian and LibreOffice.
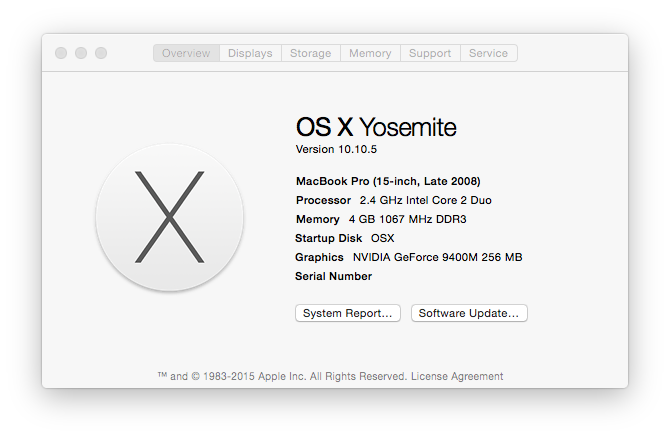
I’ve got an old MacBook Pro from 2008. The first unibody one with the express card slot and door to easily remove the battery & hard disk. According to Apple’s plan this is now obsolete and I should buy the new shiny with no Ethernet or optical drive. Windows 10 isn’t officially supported on it and is actively blocked at many stages but there is a way to install it and it works well.
I’d installed Win 8 and 8.1 before even though they have the same blockers. I’ve been running them for a while and had no trouble. The same is true for Windows 10.
How to Install
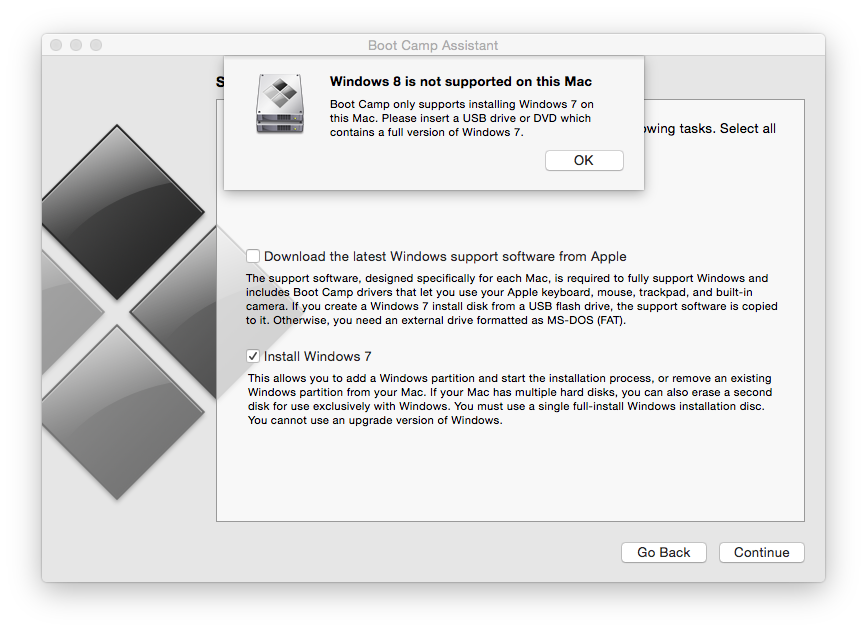
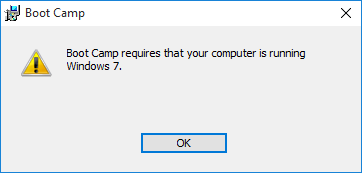
The way to install Windows 10 is to trick Boot Camp into thinking you are installing Window 7. This involves a bit of disc swapping (which brings back memories of the PS1).
You will need:
- An old Apple computer
- A Windows 7 install disc
- A Windows 10 install disc
The process is:
- Insert the Windows 7 install disc
- Launch the Boot Camp assistant and partition the hard drive
- When finished eject the Win 7 disc and insert the Win 10 disc
- Reboot and start the installation
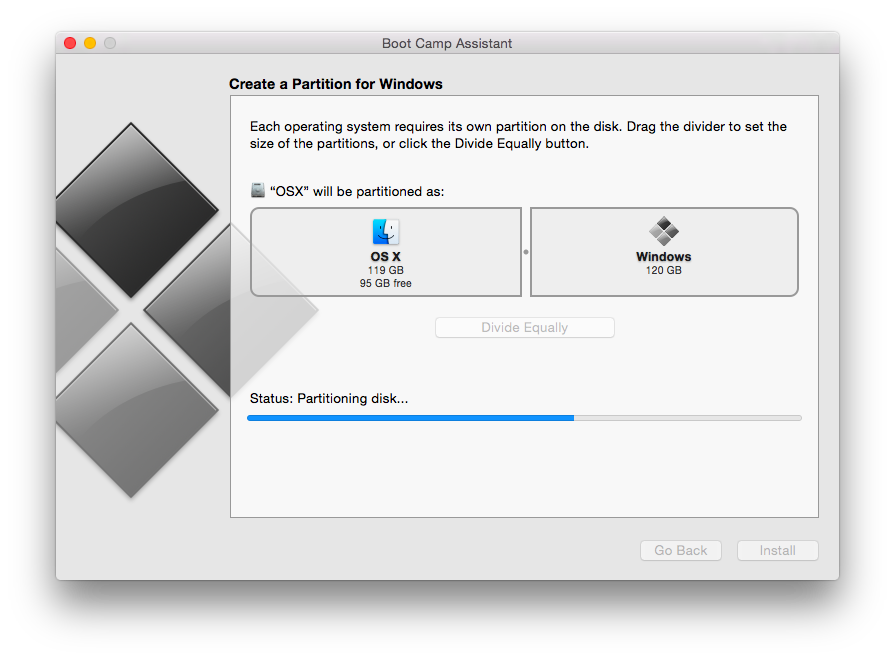
During the installation you will need to format the Boot Camp partition to NTFS.
You can also customize all the privacy options at install time. I choose to turn them all off. Remember to scroll down to find the hidden ones (that would fit on the screen anyway). I had to do this 2 times as it came up again after the first reboot.
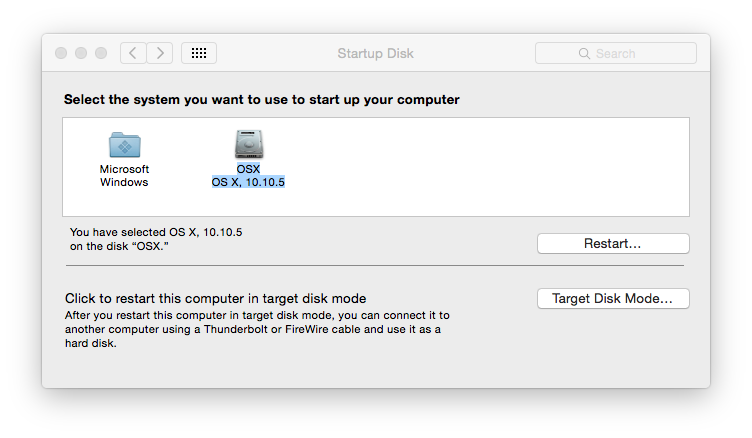
To choose which OS to boot into hold option (alt) when the machine starts up. Windows 10 works pretty well out of the box but you may want to install the track pad driver to enable right click and tap to click.
Drivers
You need to trick Boot Camp into installing the drivers as again it checks for Windows 7. This actually works out better as you don’t end up with Apple bloat-ware that you don’t need.
Use the Boot Camp assistant in OSX to download the drivers and save them to a USB memory stick. Follow these instructions. It prompts for an administrator password at the end but I’m not sure why.
You won’t be able to run any of the installers. Yet you can install the drivers and run the control panel manually:
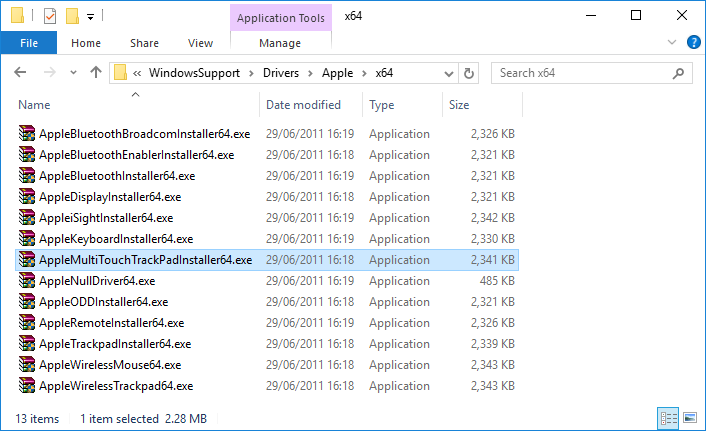
- Find the correct multi touch driver executable for your system in Drivers/Apple (in x64 for my laptop)
- Run the Apple Multi Touch Track Pad Installer and follow the wizard to install the driver
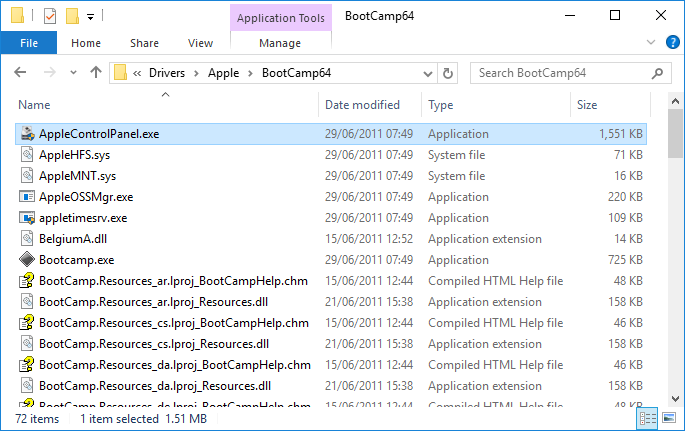
- Extract the control panel from the correct BootCamp MSI (64 bit version for my laptop) with 7-zip
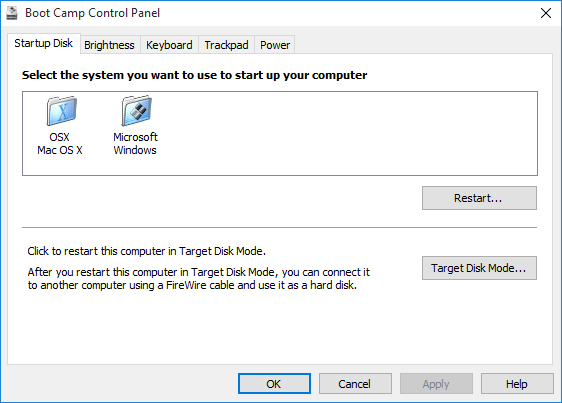
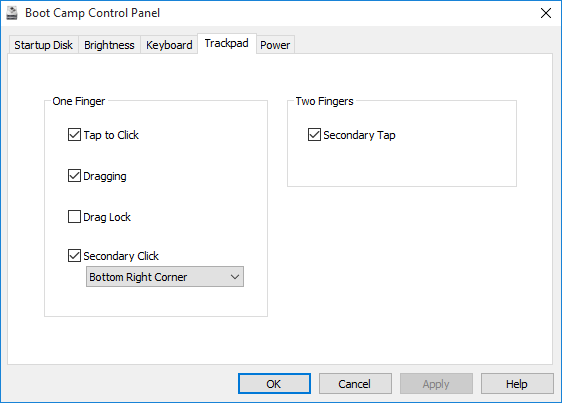
- Run Apple Control Panel and enable the options on the Trackpad tab (this tab is not present until the driver is installed)
The track pad then works really nicely. Better than on older versions of Windows with previous Boot Camp Apple drivers.
Now to install Visual Studio 2015 and get coding on the Raspberry Pi 2. I’ll save that for another post (edit: here it is).