Edit: In case it’s not clear from the below; Windows 10 IoT Core is nothing like the desktop Windows you may be used to. There is no desktop. There is no shell. It doesn’t run normal Windows applications or MS Office. It is only really useful to give you access to the GPIO (and custom display/touch-screen/mouse interface) over a network.
I tried the insider preview of Windows 10 IoT Core for Raspberry Pi 2 when it first came out. It was underwhelming to say the least. The mouse didn’t work. It jumped around making it unusable. The first public release is now out so I had a look to see if it was any better.
Last time I installed the full Windows 10 technical preview on an old MacBook Pro just to flash the SD card. Tricking bootcamp to allow this will have to wait for another post. But now I’ve found a way to flash the SD card without using Windows 10.
How to Install Windows 10 without Windows 10
Download the ISO from the link on the Microsoft GitHub site and extract the FFU image file with 7-zip. For the preview this was just inside a zip but now it is inside an MSI inside the ISO. 7-zip can decompress them all.
Then use this python script to covert the FFU image into a standard IMG file. Which should look something like this.
C:\Users\James\Downloads>C:\Python27\python.exe ffu2img.py File_WindowsIoTRpi2Flash.ffu
Input File: File_WindowsIoTRpi2Flash.ffu
Output File: File_WindowsIoTRpi2Flash.img
Block data entries begin: 0x800f8L
Block data entries end: 0xa6098L
Block data chunks begin: 0xc0000L
9721 blocks, 1244288kb written - Delay expected. Please wait.
Write complete.
By default the script will make a file of the same name but with a .img extension instead of a .ffu version. You can specify a different name but it will overwrite files without confirmation. It also outputs a log file that starts a bit like this.
FFUSecHeader begin: 0x0L
cbSize = 32
signature = SignedImage
dwChunkSizeInKb = 128
dwAlgId = 32780
dwCatalogSize = 4080
dwHashTableSize = 311200
FFUImgHeader begin: 0x60000L
cbSize = 24
signature = ImageFlash
ManifestLength = 1025
dwChunkSize = 128
FFUStoreHeader begin: 0x80000L
dwUpdateType = 0
MajorVersion = 1
MinorVersion = 0
FullFlashMajorVersion = 2
FullFlashMinorVersion = 0
szPlatformId = Broadcom.RPi.2
dwBlockSizeInBytes = 131072
dwWriteDescriptorCount = 9722
dwWriteDescriptorLength = 155552
dwValidateDescriptorCount = 0
dwValidateDescriptorLength = 0
dwInitialTableIndex = 0
dwInitialTableCount = 1
dwFlashOnlyTableIndex = 129
dwFlashOnlyTableCount = 3
dwFinalTableIndex = 9719
dwFinalTableCount = 3
Block data entries begin: 0x800f8L
Block data entries end: 0xa6098L
Block data chunks begin: 0xc0000L
Block data entry from: 0x800f8L
dwDiskAccessMethod = 1
dwBlockIndex = 1
dwLocationCount = 0
dwBlockCount = 0
...
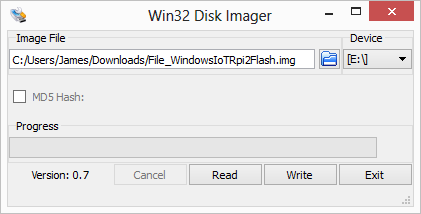
You can then use Win 32 Disk Imager or dd to flash the image to an SD card. Much the same as you might have done with Raspbian in the pre-NOOBS days.
Impressions
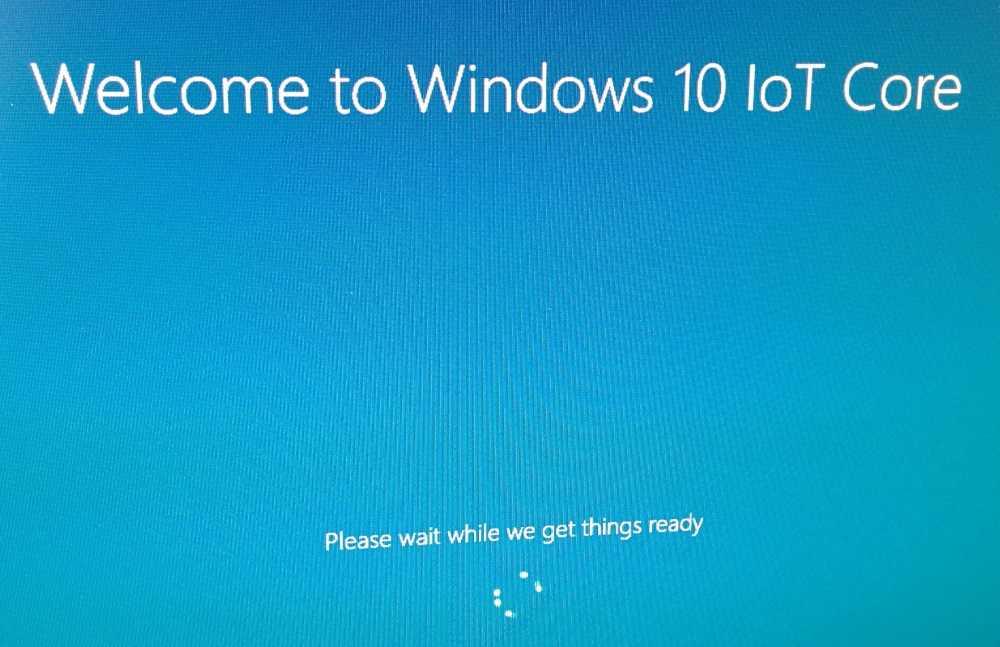
The first boot is slow but later boots are not much slower than Raspbian with a desktop. I did a quick test with identical SD cards. I can boot into a Raspbian command line via NOOBS in about 30 seconds. Getting to the desktop takes about 45 seconds total. About the same at booting to the default Windows app. Shutdown takes about the same time again. Whereas on Raspbian this is much quicker (about 10 seconds).
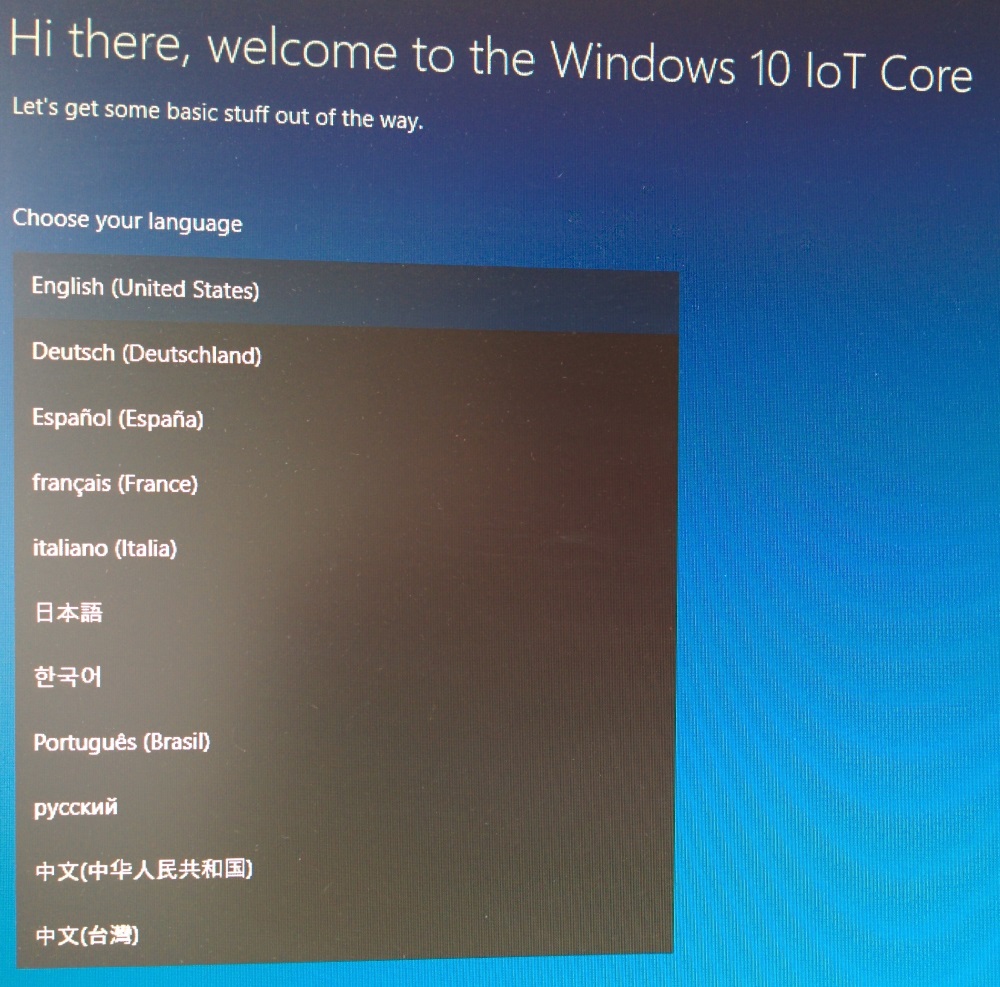
One of the things I like about the Pi is that it comes with British settings as standard. Sadly it looks like this is not even an option with Windows.
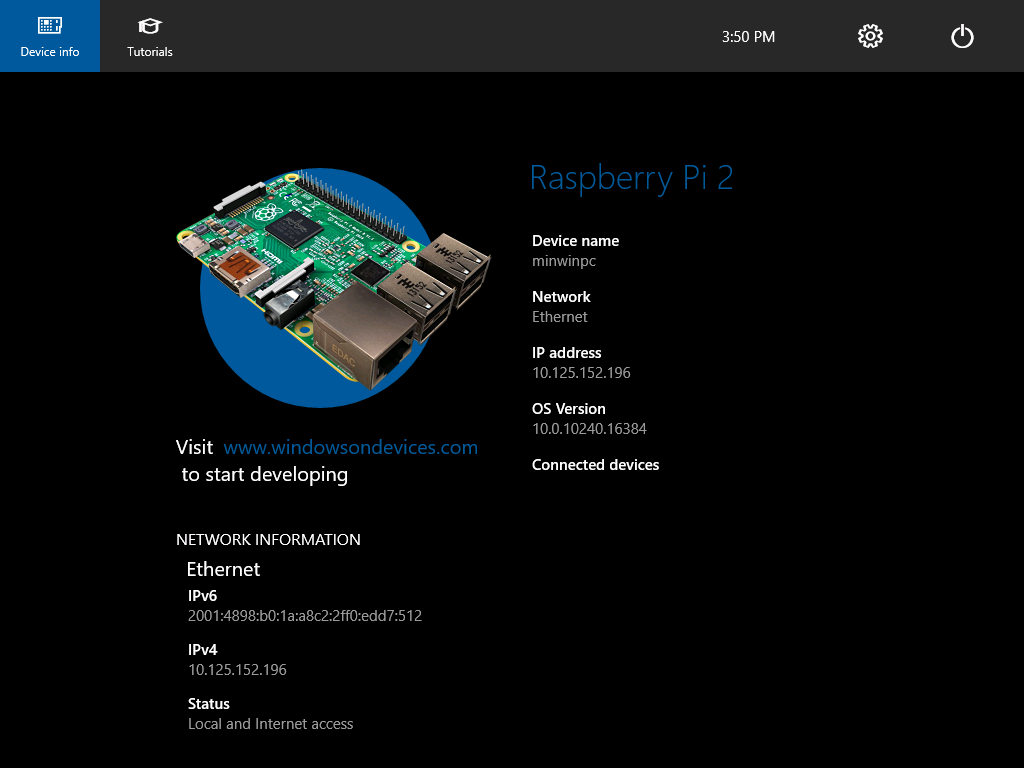
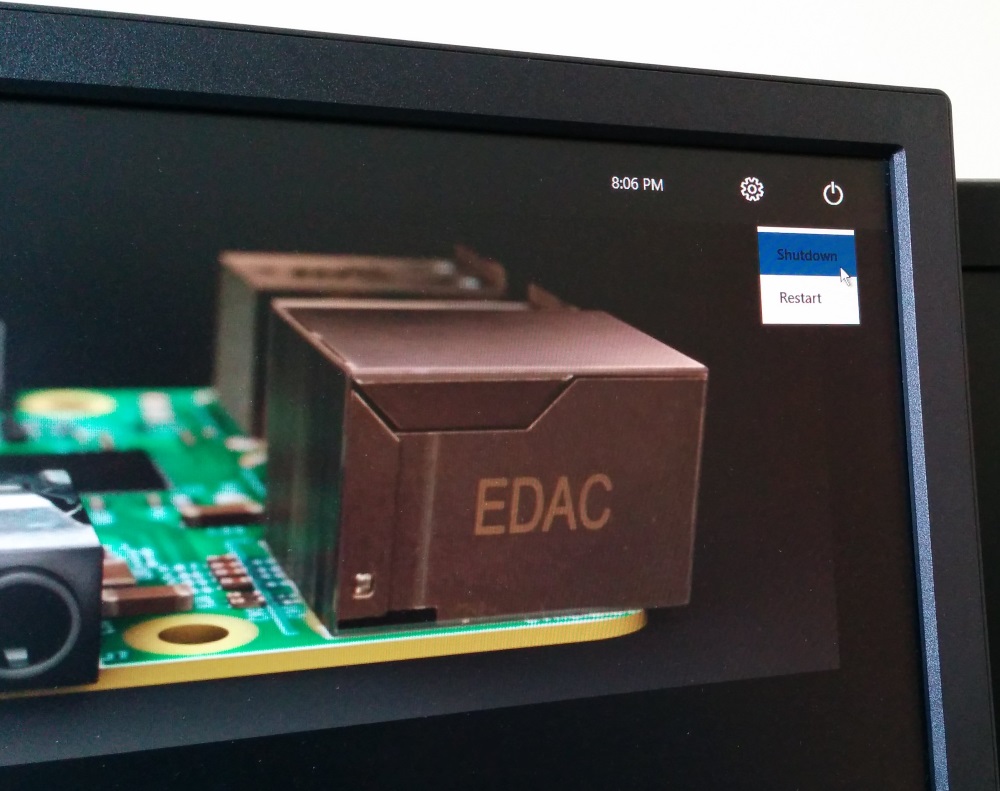
The public release already seems much more polished than the preview. The mouse works! This means you can easily set up wireless networking and safely shutdown.
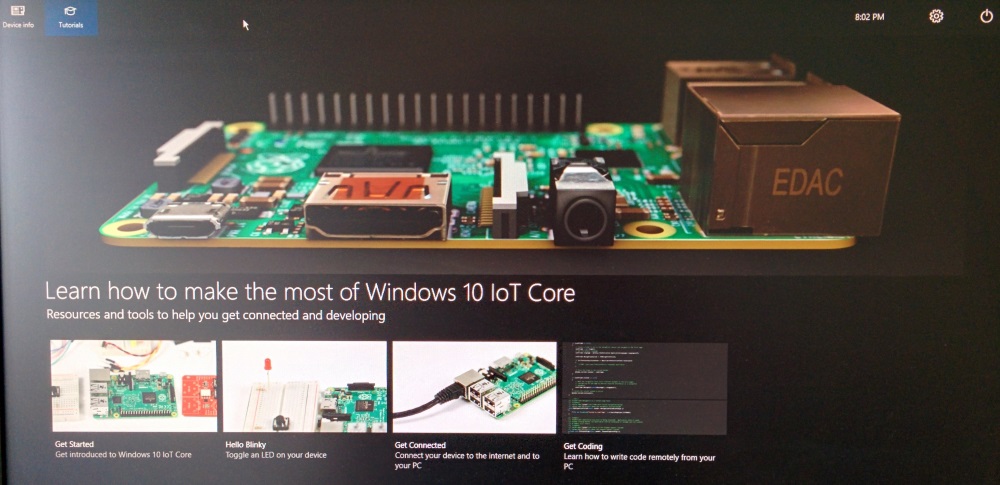
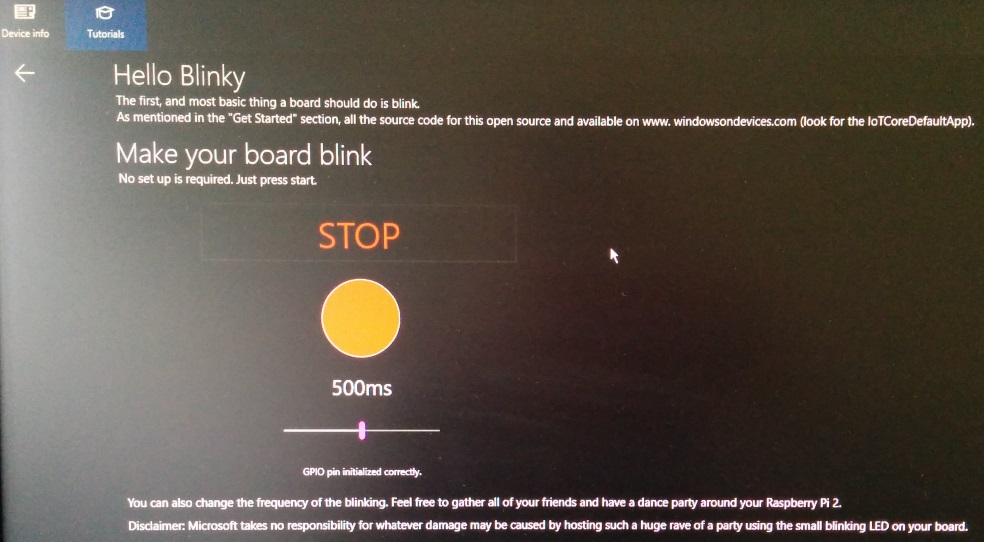
It also comes bundled with instructions and a demo app which flashes an LED if connected to the GPIO headers.
You can also SSH into the Pi which is nice. You don’t just have to use PowerShell.
The next step is to try writing some code for it. Which means installing the latest build of Windows 10 desktop and Visual Studio 2015. I think I’ll stick with Raspbian and Python for the time being.