Let’s build an app in React! For this tutorial I’ll port my existing tube status page to the new framework. The old version uses PHP to call an XML API and then applies an XSLT to generate the HTML on the server. The new version will use JavaScript on the client to call a JSON API.
In this first part we’ll get set up, design our app and build a static client-side app that gets its data from a CORS API. In later parts we’ll look at server-side rendering, optimization, installing the app and enabling offline use (and install banners) with Service Workers.
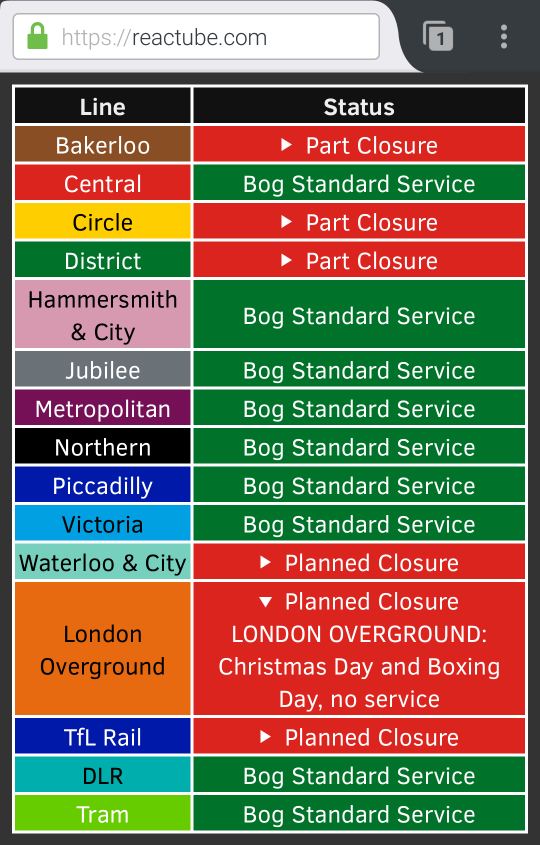
If you want to skip ahead to the results then you can try out the static site demo at reactube.com. The code will be committed in stages for each part, so that you can follow along.
Setup
I’m going to use ReactJS.NET to integrate React with ASP.NET Core, for reasons that will become apparent in later parts. I’ve stuck with version 1.0.1 of ASP.NET Core as that is the latest LTS release and am running it on .NET Framework version 4.6.2 as that is more stable than .NET Core.
![]()
You can follow the ReactJS.NET tutorial or get the bare project from my GitHub repo commit. If you only want to build the client-side app then you could use a static site build pipeline to compile the JSX to JavaScript. Once you have the environment set up and working it’s time to design our app.
Design
It’s best to start with pen and paper to work out how all of our React components will fit together. We need to find where the state should live, as data only flows in one direction with React.
This article in the docs lays out how to think the right way when using React. We need to split our application up into lots of reusable components.
Here is the component hierarchy for the tube status board:
TubeStatusStatusTable- Table header
StatusTableRowListStatusTableRow- Line name
- Status
StatusTableRow- …
StatusTableRow- …
- …
- Date and time
- Footer
The top level TubeStatus component will contain our state and the data will flow down to the other components via props. This is because TubeStatus also contains the time stamp for when the status was last updated. This could be a separate component but that would be overcomplicating things for such a simple app. For the same reason, the table header and footer are also embedded inside other components.
Build
Time to get building. We’ll keep things simple as we are trying to learn the React and JSX basics. So for now we won’t use TypeScript/TSX or new ES6 features (arrow functions / classes). We’ll keep the code as vanilla JavaScript, with the exception of the XML-like JSX syntax. You can easily view the plain JavaScript function calls that this is translated into.
One more exception is that we will be using Moment.js, because JavaScript date handling is awful. We could probably get away with .toLocaleString() but life is too short for dealing with zero-indexed months.
Step 1 - Get Typing
React is very verbose so it’s a good idea to sketch the outline of our app before adding any logic or state. This upfront investment should help to make the app more maintainable when changes are made later.
Here is the basic code scaffold in JSX (click to expand the details and view the source).
var TubeStatus = React.createClass({
    render: function () {
        return (
          <div className="tubeStatus">
              <StatusTable statusData={this.state.statusData} />
              <p>{this.state.statusTimestamp.format()}</p>
              <p><a href="https://unop.uk">unop.uk</a></p>
          </div>
        );
    }
});

var StatusTable = React.createClass({
    render: function () {
        return (
            <div className="statusTable">
                <table>
                    <thead>
                        <tr>
                            <th>Line</th>
                            <th>Status</th>
                        </tr>
                    </thead>
                    <StatusTableRowList statusData={this.props.statusData} />
                </table>
            </div>
        );
    }
});

var StatusTableRowList = React.createClass({
    render: function () {
        var lineStatusList = this.props.statusData.map(function (line) {
            return (
                <StatusTableRow lineStatusData={line} key={line.id} />
            );
        });
        return (
            <tbody>
                {lineStatusList}
            </tbody>
        );
    }
});

var StatusTableRow = React.createClass({
    render: function () {
        return (
            <tr>
                <td className={this.props.lineStatusData.id}>
                    {this.props.lineStatusData.name}
                </td>
                {status}
            </tr>
        );
    }
});

ReactDOM.render(
  <TubeStatus />,
  document.getElementById('content')
);
I’ve omitted some code for clarity so that you can easily see how the components filter down. You can see the full file here and the resulting JavaScript here. We’ll fill in the gaps as we work through and the next step is to add some state.
Step 2 - Initial State
Let’s add some initial state so that we can see something rendered when we run our code.
Add this function to the top level component.
getInitialState: function () {
    return {
        statusData: [
            { id: "bakerloo", name: "Bakerloo", modeName: "tube" },
            { id: "central", name: "Central", modeName: "tube" },
            { id: "circle", name: "Circle", modeName: "tube" },
            { id: "district", name: "District", modeName: "tube" },
            { id: "hammersmith-city", name: "Hammersmith & City", modeName: "tube" },
            { id: "jubilee", name: "Jubilee", modeName: "tube" },
            { id: "metropolitan", name: "Metropolitan", modeName: "tube" },
            { id: "northern", name: "Northern", modeName: "tube" },
            { id: "piccadilly", name: "Piccadilly", modeName: "tube" },
            { id: "victoria", name: "Victoria", modeName: "tube" },
            { id: "waterloo-city", name: "Waterloo & City", modeName: "tube" },
            { id: "london-overground", name: "London Overground", modeName: "overground" },
            { id: "tfl-rail", name: "TfL Rail", modeName: "tflrail" },
            { id: "dlr", name: "DLR", modeName: "dlr" },
            { id: "tram", name: "Tram", modeName: "tram" }
        ],
        statusTimestamp: moment()
    };
},
In our lowest level component we’ll define the status element as a simple placeholder to begin with.
var status = <td>Getting Status Data....</td>;
Now if you have the project set up correctly you should get a table of all lines with no status. If you have the CSS then it will also be styled correctly. Next we’ll add the real data.
Step 3 - Dynamic Updates
The API we are going to use is here. You can add other modes such as national-rail or cable-car but we’ll stick to the standard rainbow board.
You can view this JSON API in your browser but it won’t be very easy to read. You may want to install an add-on (such as JSONView for Firefox) or use the browser developer tools to format it.
We’re going to add a custom function to our top level component. Here is the code:
loadLineStatusInfo: function () {
    var xhr = new XMLHttpRequest();
    xhr.open('get', 'https://api.tfl.gov.uk/line/mode/tube,overground,dlr,tflrail,tram/status', true);
    xhr.onload = function () {
        var data = JSON.parse(xhr.responseText);
        this.setState({
            statusData: data,
            statusTimestamp: moment()
        });
    }.bind(this);
    xhr.send();
},
This method calls the API to get the data we need, parses the JSON response and updates the state in the React component. Remember that setState() is asynchronous, so the state may no be updated immediately after a call to it.
Next we will hook a built-in method of React to call our custom one. This is the code to add:
componentDidMount: function () {
    window.setInterval(this.loadLineStatusInfo, 60000);
    this.loadLineStatusInfo();
},
We have set up a callback to trigger our function every minute. We also call it once immediately for the first load.
Step 4 - Render and Sort
Next we need to render our status based on our new state. In our lowest level component we will override our placeholder with the real status.
if (this.props.lineStatusData.lineStatuses && this.props.lineStatusData.lineStatuses.length > 0) {
    status = this.props.lineStatusData.lineStatuses[0].statusSeverity === 10 ?
        <td className="standard">Bog Standard Service</td> :
        <td className="bad">
            <details>
                <summary>
                    {this.props.lineStatusData.lineStatuses[0].statusSeverityDescription}
                </summary>
                {this.props.lineStatusData.lineStatuses[0].reason}
            </details>
        </td>;
}
If there is a disruption then we will use an HTML <details> tag for the reason, so it can be easily expanded and read. Note how we avoid errors by testing for the array before trying to index it.
The response from the API is sorted by id but we would like it grouped by mode, as in our initial placeholder data. So we need to sort the list after our StatusTableRowList map function.
var lineStatusList = this.props.statusData.map(function (line) {
    var order = 9;
    if (line.modeName === 'tube') order = 1;
    if (line.modeName === 'overground') order = 2;
    if (line.modeName === 'tflrail') order = 3;
    if (line.modeName === 'dlr') order = 4;
    if (line.modeName === 'tram') order = 5;
    return (
        <StatusTableRow lineStatusData={line} key={line.id} order={order} />
    );
}).sort(function (a, b) {
    // Sort by list above
    if (a.props.order < b.props.order) return -1;
    if (a.props.order > b.props.order) return 1;
    // Then by mode name
    if (a.props.lineStatusData.modeName < b.props.lineStatusData.modeName) return -1;
    if (a.props.lineStatusData.modeName > b.props.lineStatusData.modeName) return 1;
    // Then by id (~ lower case name)
    if (a.props.lineStatusData.id < b.props.lineStatusData.id) return -1;
    if (a.props.lineStatusData.id > b.props.lineStatusData.id) return 1;
    return 0;
});
Note that although the order is predefined, we have future-proofed the logic in case more modes are added later. We have used a prop to store the order but you could also sort first then render.
That’s pretty much all there is to it. React will take care of the rendering when the state changes. Time to test.
Test
Apart from simply loading our app in a browser and checking that it functions as expected, there are other things that we can do. If you are using the development version of React then many helpful warnings are outputted to the browser console. Make sure to use the minified production version for deployment though.
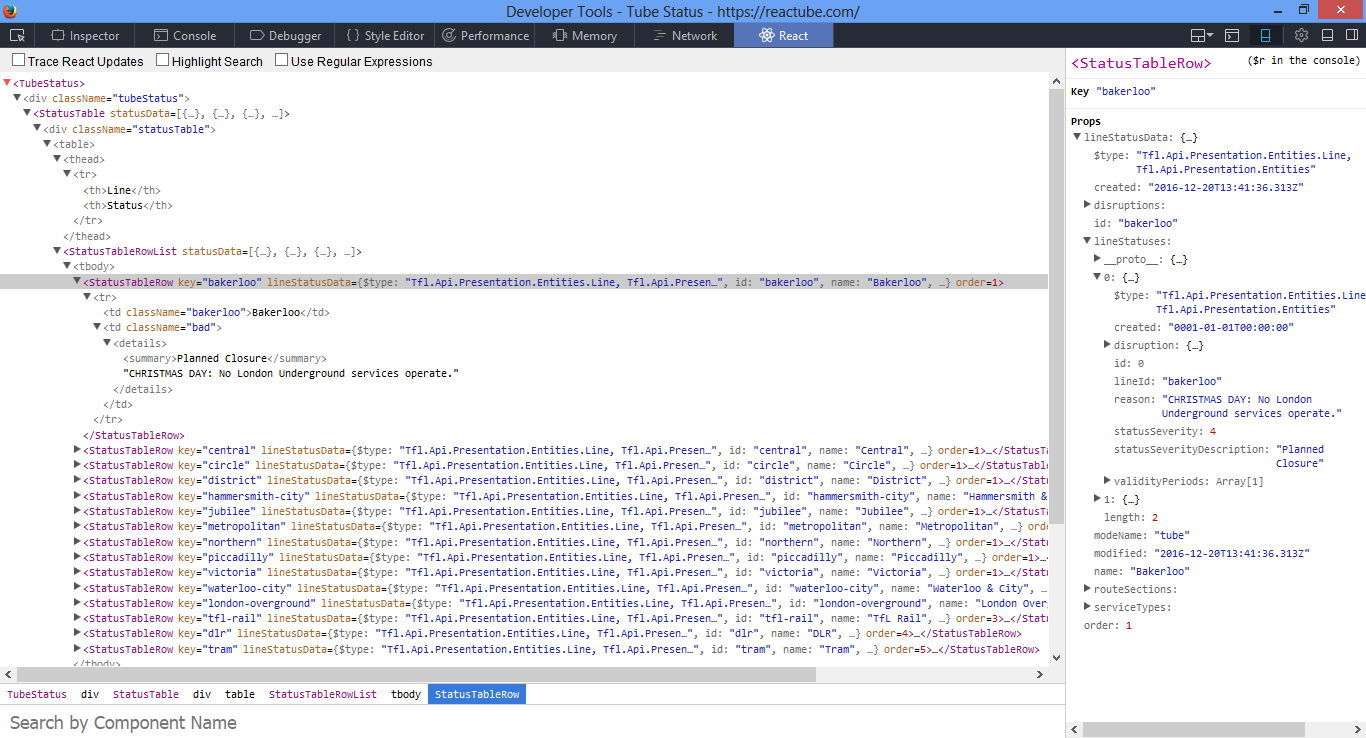
The React developer tools are very useful and are available as extensions for both Chrome and Firefox. It operates much like the normal inspector but shows you React specific information.
I’ll cover server-side unit testing (using xUnit) in later posts. If you want to unit test the JavaScript app then you could look at something like Jest.
Benefits
What are the benefits of this new version over the old one? One of the main improvements is that the new one has auto-updates.
The old version needed the page refreshing to get new statuses. While this could be done automatically using a <meta> tag, it’s not a great user experience to reload the whole page when the status is unlikely to have changed.
Although the new version still polls an API, React only updates the browser DOM if there are changes. Additionally, React diffs the DOM and only updates the parts that have changed. Further improvements could be to use WebSockets or a library such as SignalR to avoid the polling.
It’s not all benefits though. React makes the code bigger and more complex. Arguably, React is only beneficial on large projects with lots of different teams working on the same codebase. At scale the architecture will make it more maintainable. Similar to technologies like microservices, using these advanced patterns when not required, just for the sake of it, will make a project needlessly complicated.
Another downside is that nothing is rendered in the browser until the JavaScript has run. The user gets a blank page to start with and this isn’t great. We can deal with this by using server-side rendering, but this has its own trade-offs and we’ll cover it in the next post of this series.
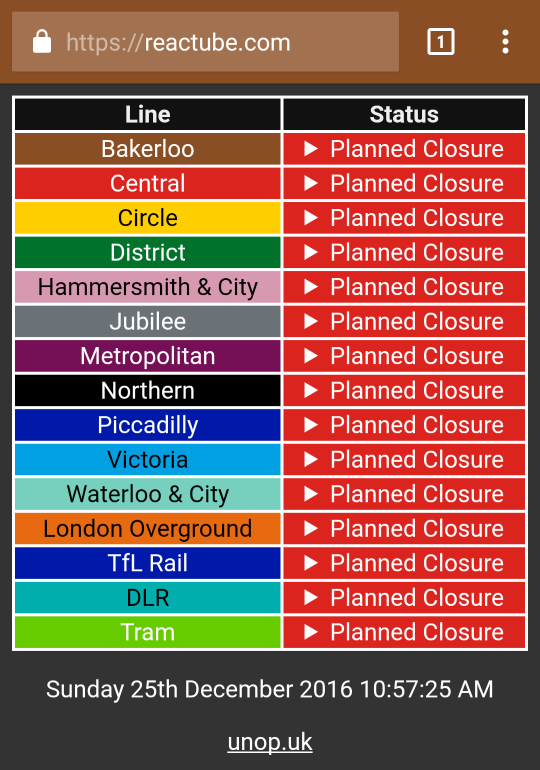
Merry Christmas and Happy New Year!
If you liked this then you can buy my book or even hire me.