I’ve tried out Windows 10 on both an old MacBook Pro and on a Raspberry Pi version 2. This post is a more in depth look at interfacing the two together.
Standard IoT Core Warning: Windows 10 IoT Core is nothing like normal Windows. There is no desktop and it doesn’t run standard apps. If you want to use a Pi as a general computer then run Linux.
Setting Up
Follow these instructions. Once you have installed all the required software you can flash the SD card with an included tool. Other options are available too.
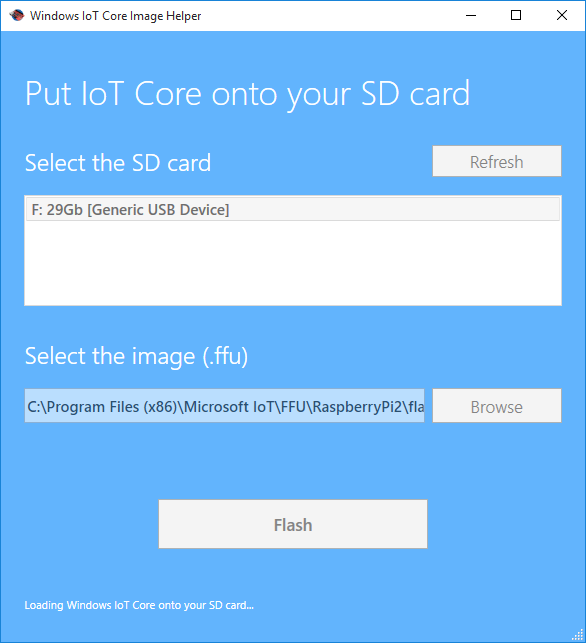
This is just a wrapper around the Deployment Image Servicing and Management (DISM) command line tool.

Remote Access
The first boot takes a very long time so be patient. Once your device has booted up you can access it remotely via:
- PowerShell
- SSH
- Web
- SMB
- Visual Studio
There is a Core Watcher application which helps discover devices. You can right click on an item to bring up options.

PowerShell remote sessions work but are a little complex. These are the commands.
Windows PowerShell
Copyright (C) 2015 Microsoft Corporation. All rights reserved.

PS C:\Windows\system32> net start WinRM
The Windows Remote Management (WS-Management) service is starting.
The Windows Remote Management (WS-Management) service was started successfully.

PS C:\Windows\system32> Set-Item WSMan:\localhost\Client\TrustedHosts -Value minwinpc
WinRM Security Configuration.
This command modifies the TrustedHosts list for the WinRM client. The computers in the TrustedHosts list might not be authenticated. The client might send credential information to these computers. Are you sure that you want to modify this list?
[Y] Yes  [N] No  [S] Suspend  [?] Help (default is "Y"): Y
PS C:\Windows\system32> Enter-PSSession -ComputerName minwinpc -Credential minwinpc\Administrator
A credential request dialogue window will appear to authenticate.
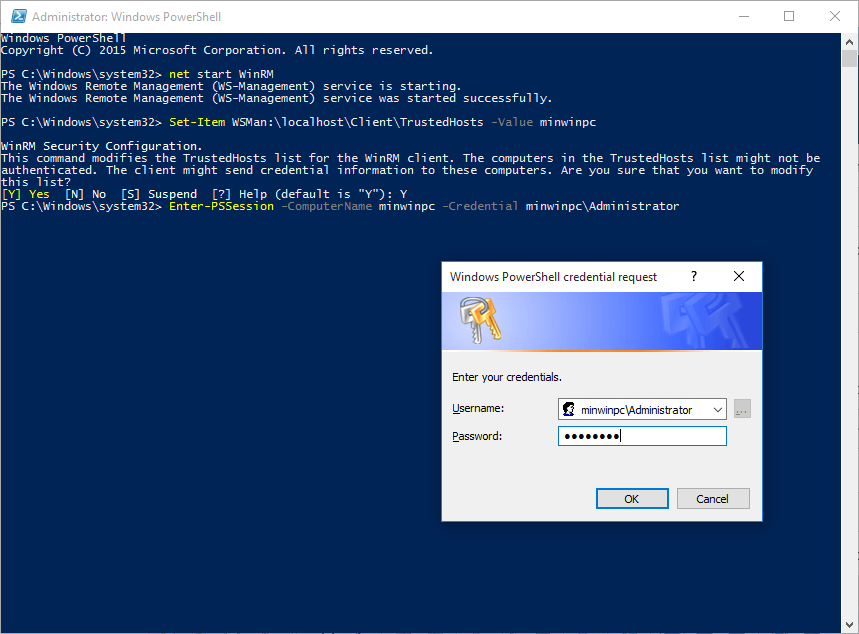
You should change the password. After this you will need to kill the session and reconnect.
[minwinpc]: PS C:\Users\Administrator\Documents> net user Administrator CorrectHorseBatteryStaple

SSH (with PuTTY) is much easier. Just connect and it works.

You can also access the file system over a Windows file share (SMB).
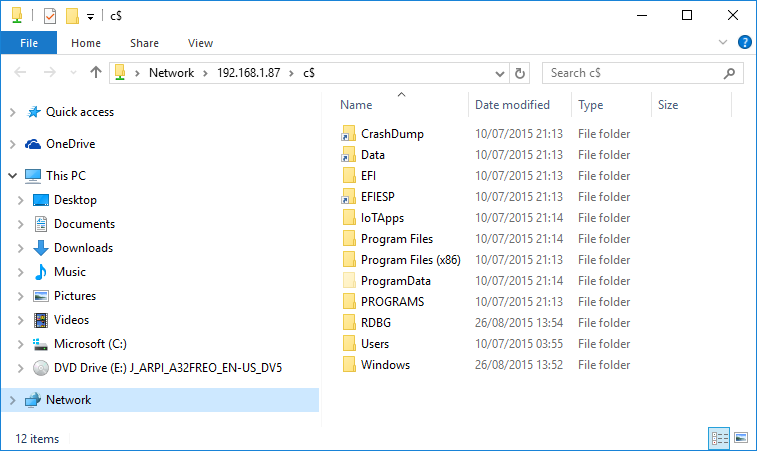
There is also a web interface with lots of information. Just go to the IP address of your Raspberry Pi on port 8080.

There are too many pages to show them all here but a nice touch is the Performance page. It has animated graphs that update in real-time.

You can shutdown or reboot the device from the menu at the top. Shutdown takes quite a while so be patient before you pull the plug.
Sample Applications
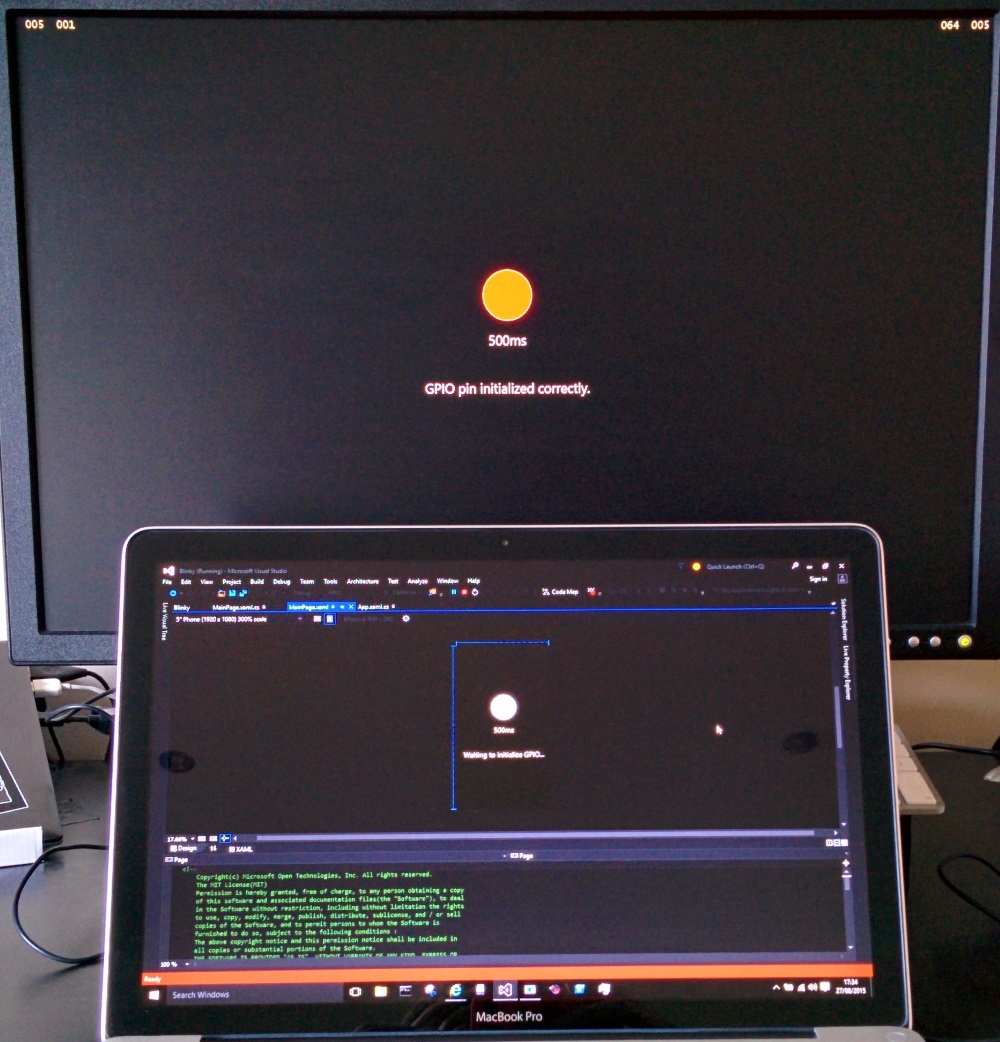
I tried out a couple of the sample applications. The GPIO app worked.
The Digital Signage app built and deployed but didn’t run well. When the video is selected nothing happened and the web browser was unusable as it died when an address was typed in. I think I’ll be sticking with Screenly for my digital signage needs.
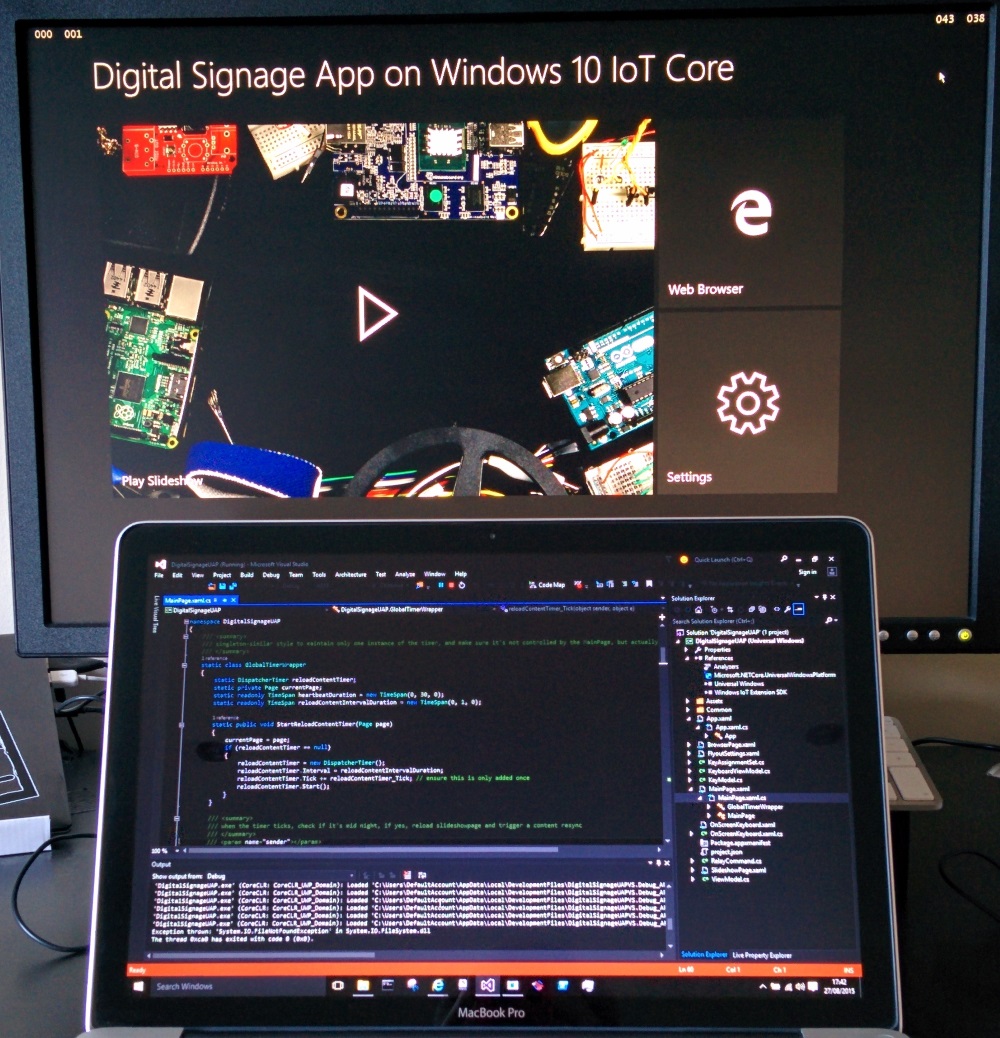
Making universal apps for Windows 10 on Raspberry Pi is very similar to the WPF desktop app creation that I’ve done before. Using the same XAML and C# that I’m familiar with.
I tried to get an app talking to a WCF SOAP endpoint but it looks like VS2015 has broken the service reference generation. It didn’t build the correct classes from the WSDL. I’ll keep trying but it’s not an easy start.
I’m a .NET developer and I still find it easier to get things working with Linux on a Raspberry Pi. Hopefully Windows 10 will stabilise in the coming months.