Ever wanted your own climbing wall? Here’s how to make a small domestic bouldering wall, suitable for under the stairs.
When the clumsy builders next door managed to drill through the wall into our dining room it was pretty annoying. However, every problem is an opportunity in disguise. So rather than redecorating, why not build a climbing wall‽
You Will Need
You’ll need the following materials and tools. Many of these can be acquired at a builders’ merchants or hardware shop. However, you will need to order some of the more exotic parts online. Scale the quantities to fit your space and use fixings suitable for your anchoring material.
Bill of Materials
- 7x CLS1 stud-work batons (£2.75 each)
- 2x 18mm structural plywood sheets (£33 each)
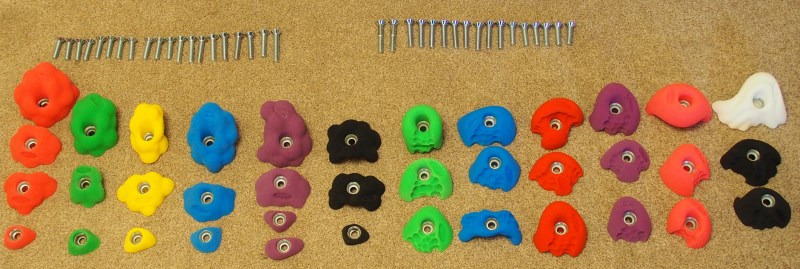
- 37x bolt-on climbing holds (£110)
- 50x small screw-on climbing holds (£34)
- 37x M10 bolts (included with holds)
- 81x T-nuts (£0.18 each for extras)
- Screws and wall plugs
- 34x wall plugs (12x60mm) for brick (£0.93)
- 34x long screws (5x100mm) to attach CLS to brick (£3.38)
- 33x medium screws (4x50mm) to attach ply to CLS (£1.62)
- 100x short screws (5x30mm) to attach small holds to ply (£4.78)
- 1x bouldering crash mat (~£100 if not already owned)
- 1x awesomely chill wife (priceless)
Total cost for wall (inc. VAT @ 20%): ~£250
Full Wall Breakdown
| Part | Pack cost | Pack size | Unit cost | Quantity | Sub total |
|---|---|---|---|---|---|
| CLS | £2.75 | 1 | £2.75 | 7 | £19.25 |
| Ply | £33.00 | 1 | £33.00 | 2 | £66.00 |
| Large holds | £109.98 | 37 | £2.97 | 37 | £109.98 |
| Small holds | £45.00 | 67 | £0.67 | 50 | £33.58 |
| T-nuts | £0.18 | 1 | £0.18 | 44 | £7.92 |
| Plugs | £2.73 | 100 | £0.03 | 34 | £0.93 |
| Long screws | £9.95 | 100 | £0.10 | 34 | £3.38 |
| Medium screws | £4.90 | 100 | £0.05 | 33 | £1.62 |
| Short screws | £4.78 | 100 | £0.05 | 100 | £4.78 |
| Grand total | £247.44 |
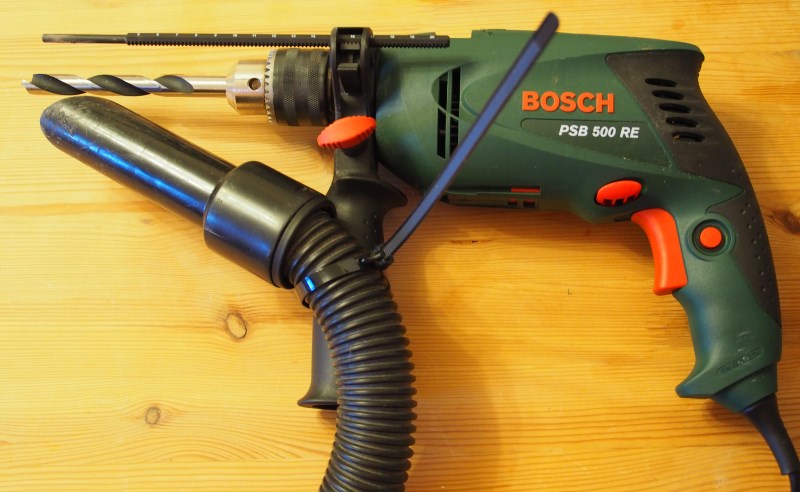
Tools
- Jigsaw
- Drill
- Drill-bits
- 12mm masonry-bit
- 12mm wood-bit
- 5mm wood-bit
- 4mm wood-bit
- 3mm wood-bit (for pilot holes)
- Countersink
- Cross-head / phillips screwdriver (powered is easier)
- Clamps
- Workbench / a-frames
- Sander / sandpaper
- Allen key (for route setting)
- Safety kit
- Eye protection
- Face mask
- Ear plugs
- Dust extractor / vacuum cleaner

Method
Safety first; always protect your eyes, lungs and hearing. You may also want to wear gloves if there are splinters. Wear a face mask, set up dusk extraction and open windows. Wear goggles or safety glasses and ear defenders or plugs. Most of all, just be careful, especially with power tools and make sure the circuit is RCD protected.
There are eight steps in this guide and the order is a little flexible.
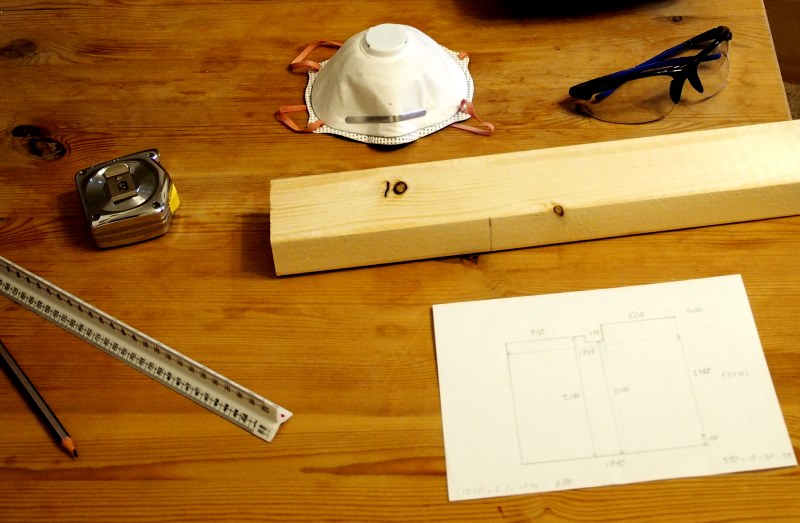
1. Plan
Measure twice, cut once
This old adage holds true so the first step is to measure, plan, draw and then measure again. It is very easy to get the dimensions wrong and cut too small. Do not assume walls and ceilings are straight or level.
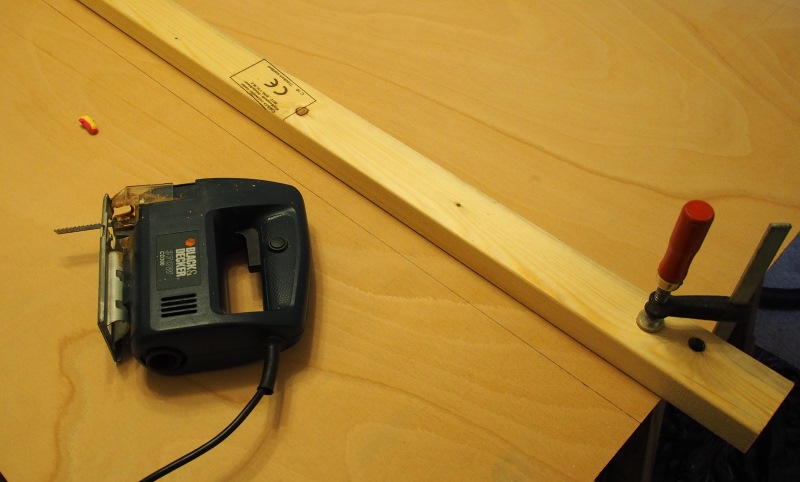
2. Cut
Cut the ply and CLS to size. You can use the CLS as a straight edge to mark up the ply with pencil then clamp it down to form a guide for your tools. Smaller cuts can be done freehand if they are less important. Sand the edges smooth to remove splinters.
3. Drill
Building a wall is mainly an exercise in drilling. There are over 380 holes/sinks to drill for my small wall!
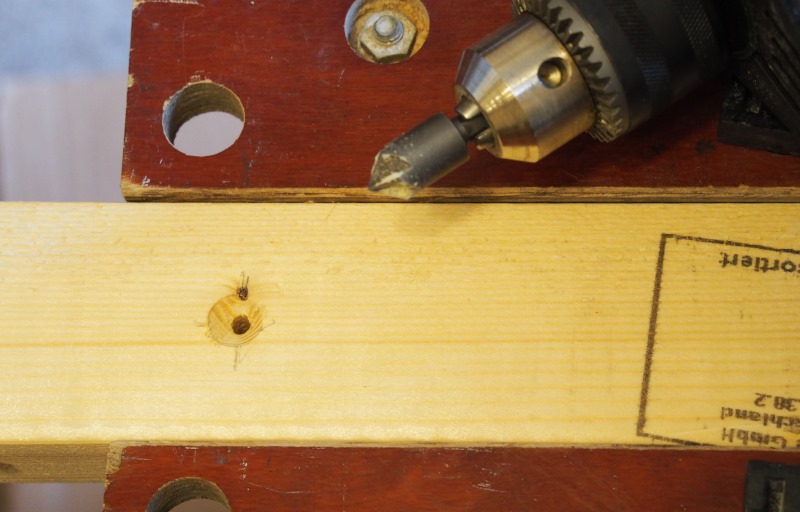
CLS
Drill 34 equally spaced 5mm holes through (the shortest dimension of) the CLS. Countersink the holes so that the screw heads will be flush with the CLS and not get in the way of the ply attachment. You don’t need to worry too much about sinking them too deep for these ones.
Wall
Use the CLS holes to mark where you should drill on the wall and where you shouldn’t drill on the ply. Drill 34 12mm x 60mm holes (with the masonry-bit) in the brick wall and insert wall plugs. It’s helpful if you put some tape around the bit to show how deep to go or use a guide on the drill (if it’s long enough).

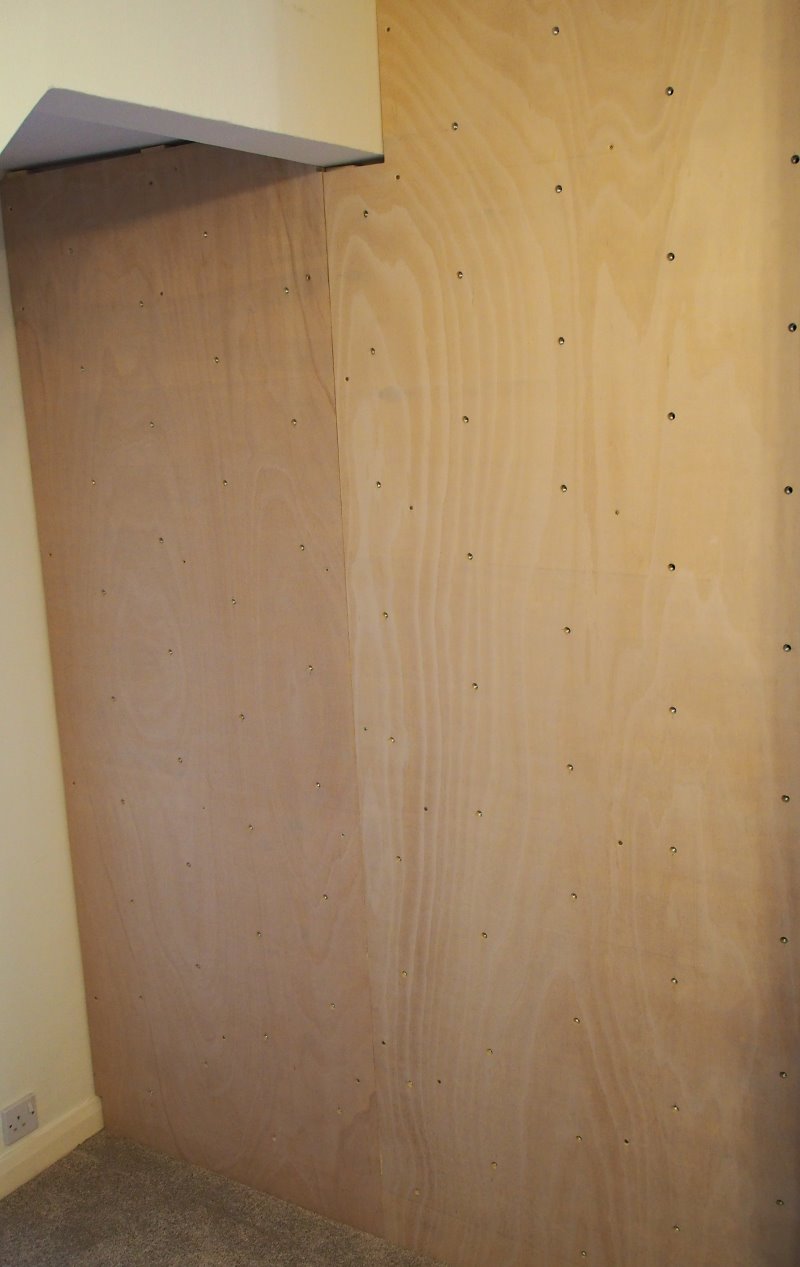
Ply
Drill 33 4mm holes through the ply where the CLS-wall screws won’t be. Countersink the holes so the screw heads will be flush. Be careful when sinking these ones. You don’t want them too deep or too proud.
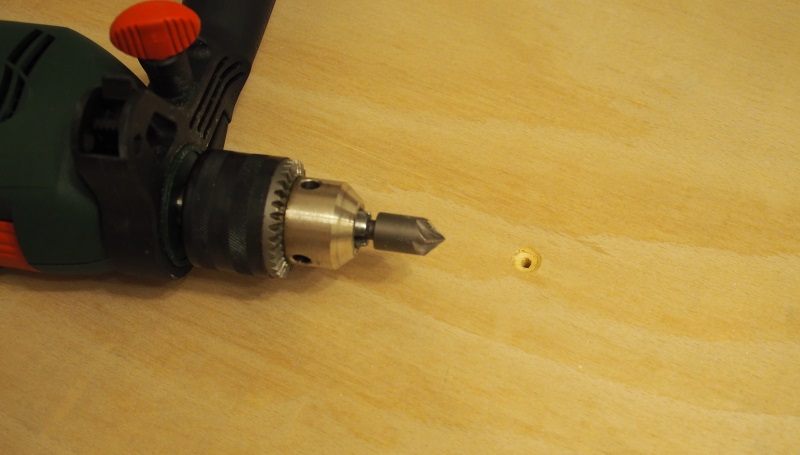
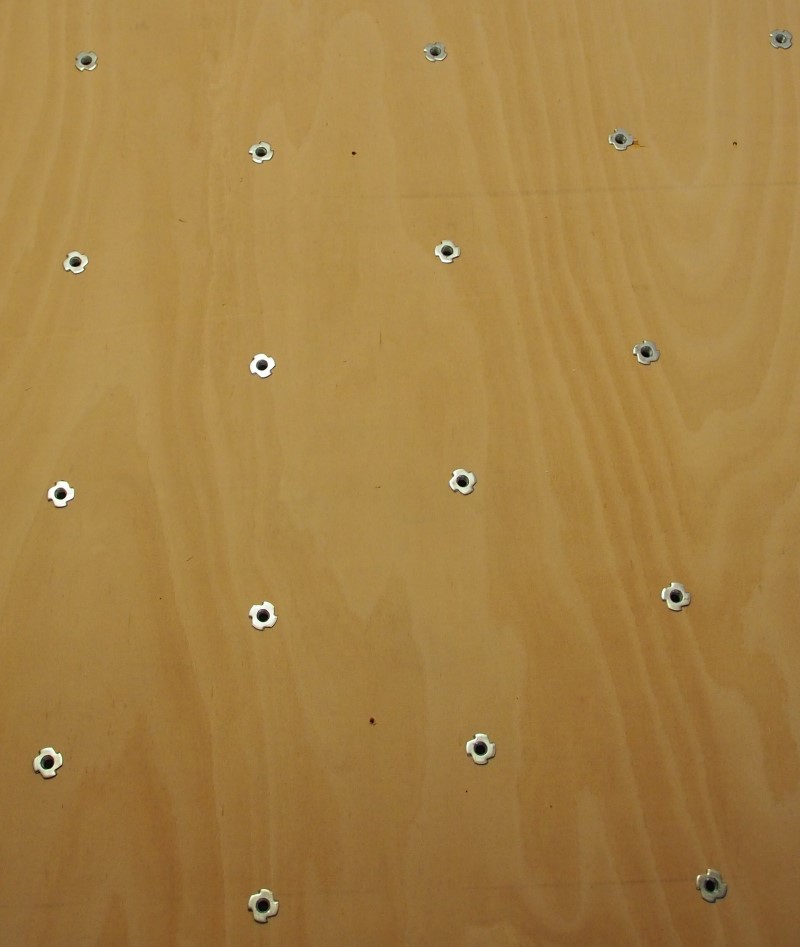
Mark up where you want your holds to go, avoiding the CLS behind. I used an offset grid pattern. Drill 81 12mm holes (with the wood-bit) through the front of the ply for the T-nuts. You want plenty more holes than holds so that you can easily set different routes. You’ll need clearance behind the ply for the nuts and bolts. Take your time and use a spirit level.
4. Hammer
Hammer the T-nuts into the ply from what will be the back of the wall. Pull them tight with a bolt and washer from the other side if required.
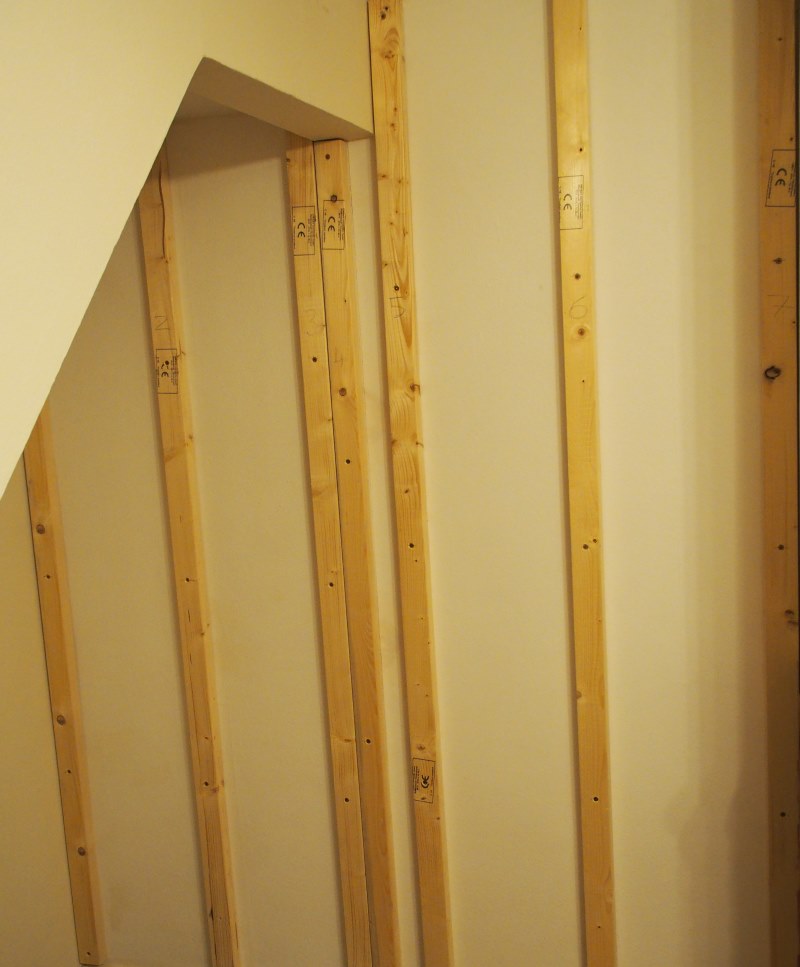
5. Fix
Screw the CLS to the wall with the long screws into the wall plugs. Ensure that the screw heads are below the surface of the CLS.
Align the ply and drill short 3mm pilot holes through the 4mm holes. Not the whole length of the screw, just to get it started and avoid cracking the CLS.
Screw the ply to the CLS with the medium screws. Make sure that the screw heads are flush with the surface of the ply.
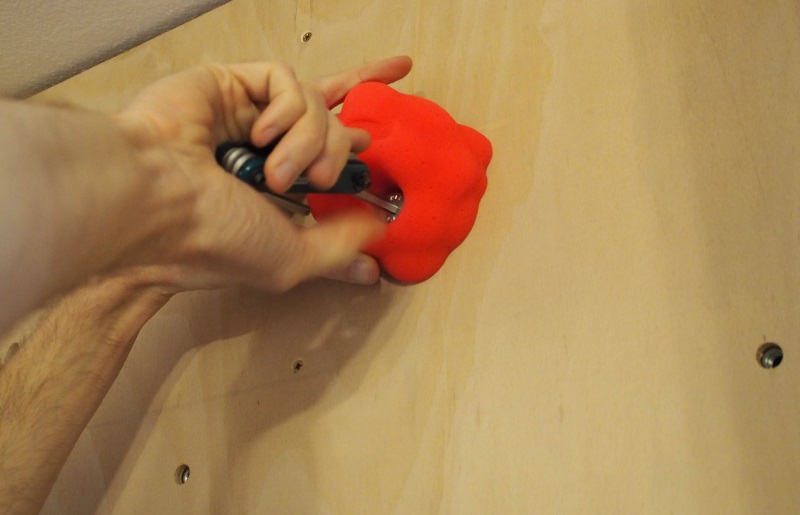
6. Bolt
Bolt the holds on to the ply using the M10 bolts, T-nuts and an allen key. You can reset routes later with the spare nut holes. Make sure everything is tight and that the holds don’t spin.
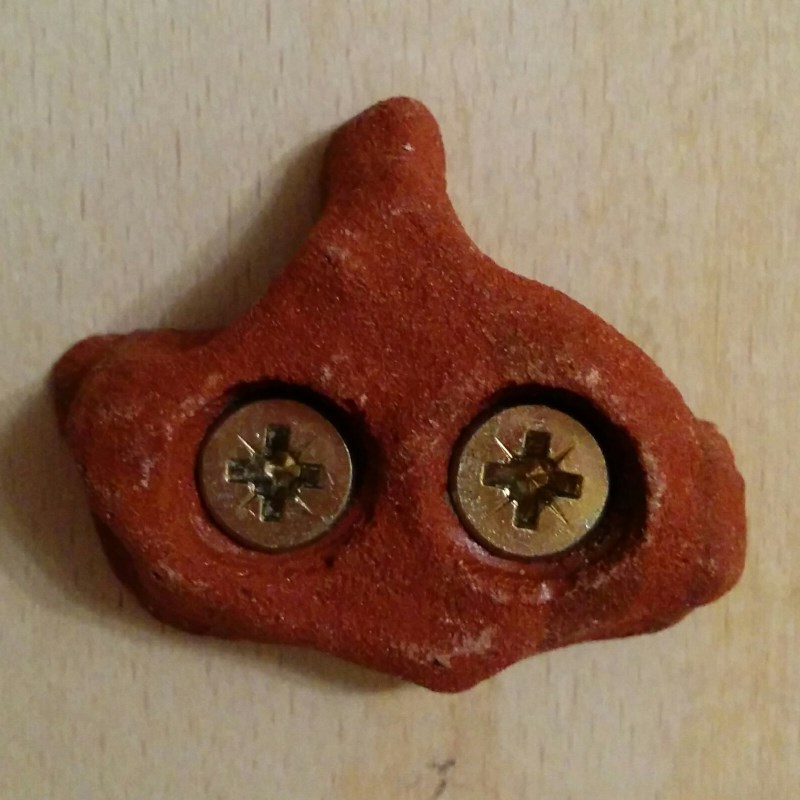
7. Screw
Mark the holes where the small holds will go. Drill two small 3mm pilot holes for each hold through the ply. Screw the holds to the ply with the short screws.

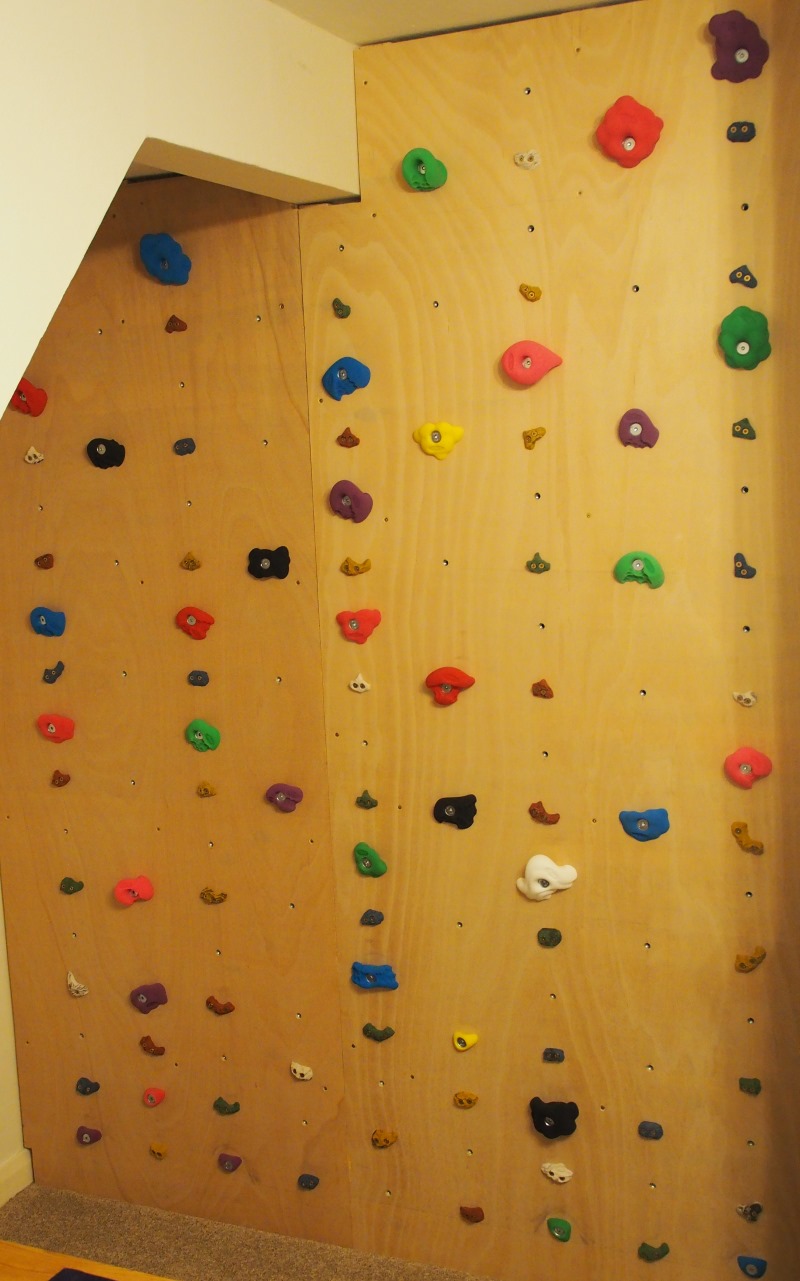
8. Climb
You can now start bouldering, with your mat for protection. You will probably want to have sitting starts on your problems. An overpriced bouldering beanie is optional!
Disclaimer
Obviously there is a certain level of risk involved in a project like this. If in doubt, get a professional in. I take no responsibility if you follow this guide and injure yourself or cause damage.
If you’d like another guide then Metolius have a decent PDF of the process. However, that focuses on timber anchors and brick walls are more common in the UK.
💩
I’m also not responsible for what some of the holds look like.
- Canadian Lumber Standard (no, I didn’t know either) ↩