This was going to be a post about how to perform CI builds on Azure DevOps but there can be so many issues just hosting your code that I thought I should expand upon that first. Builds can wait for the next post in this series.
There are many hoops to jump through. If you thought the Visual Studio setup was hard, try using SSH on Linux or just unsubscribing from an email!
UNSUBSCRIBE
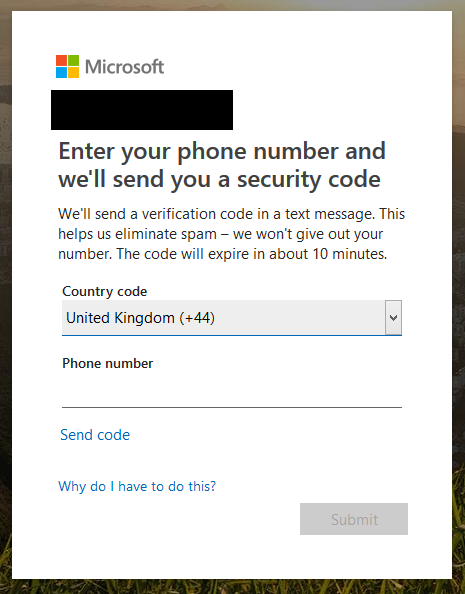
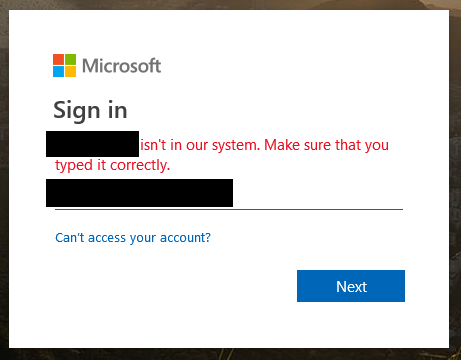
The first rigmarole you may encounter is that your live account gets “locked”. It will still work fine if you remained logged in but you can’t sign in with a different session (e.g. on another machine). What this muddled messaging means is that Microsoft wants your phone number to verify your account (hopefully not to market to you, which would be against GDPR). Twitter does the same thing, it’s just more obvious why it is happening.
Clicking the unsubscribe link…
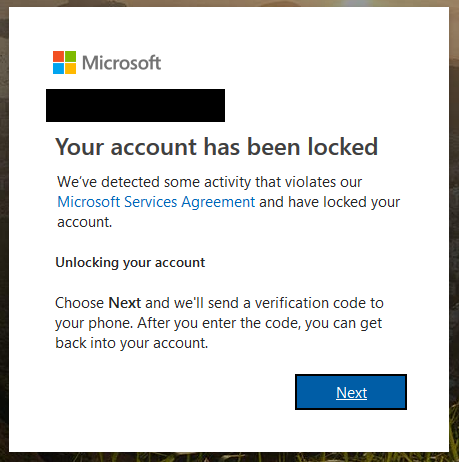
If, at the end of all that the unsubscribe still fails then you’ll just have to blacklist the address. You may also want to report the spam to your email provider and local GDPR authority (e.g. the UK ICO, which has been showing its teeth recently with some big fines).
Barely Credible
Now we can try to get at our git repository from another machine!
Don’t generate git credentials. This is correctly listed as bad practice in the docs but the UI guides you into it far too easily. Visual Studio uses a Personal Access Token but on Linux we want to use SSH.
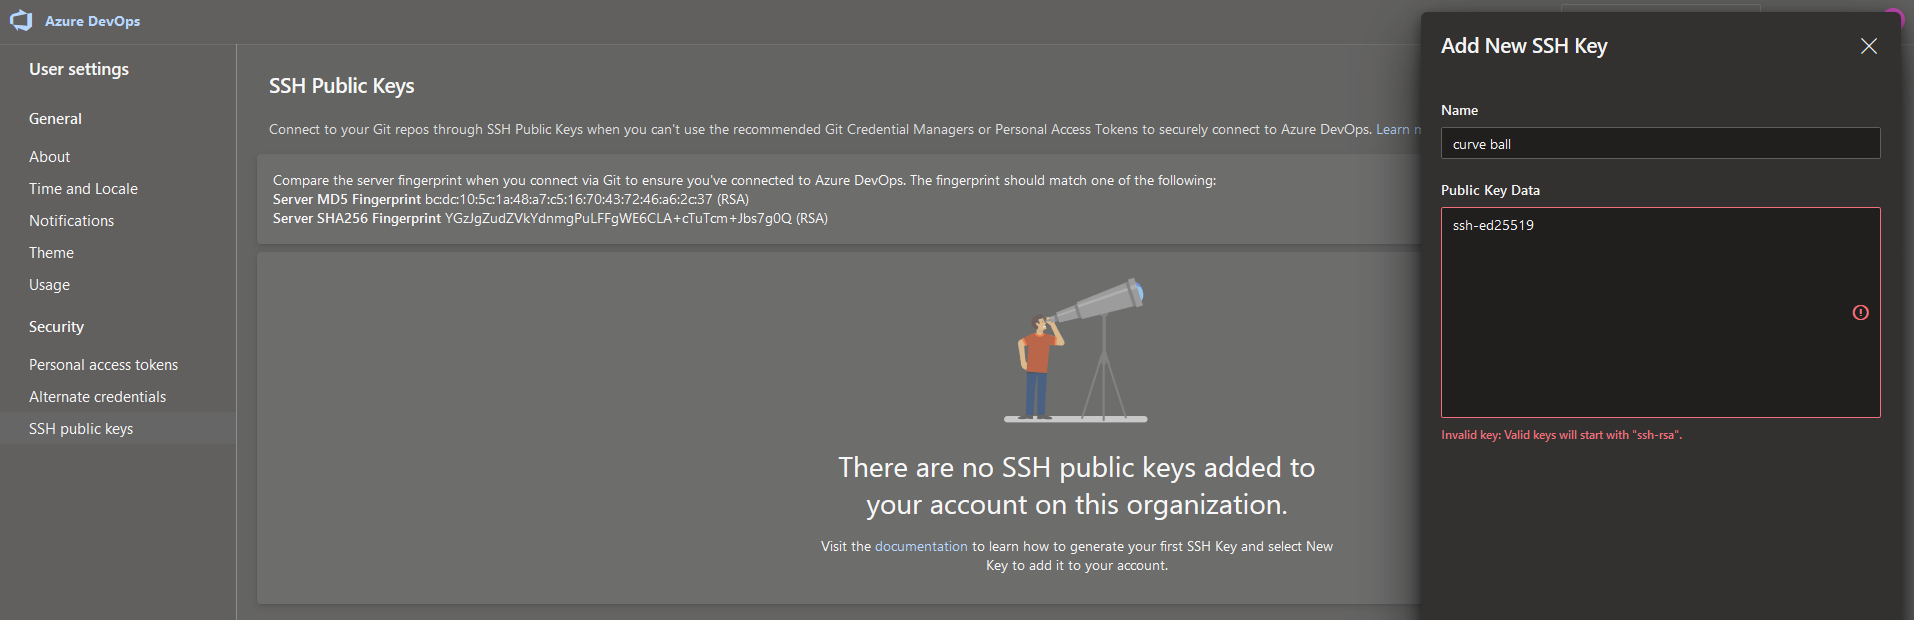
The first hurdle is that Azure DevOps does not support elliptic curve ED25519 SSH keys. It’s RSA only, so you might have to generate some new (less secure and longer) keys.
Assuming you already have RSA keys (read the docs page if not), then it’s time to add your public key so you can clone the repository.
First, get your public key. From the terminal you can do this.
~$ cat .ssh/id_rsa.pub
ssh-rsa {base 64 encoded public key}
Then click add in the SSH key web UI, copy/paste the encoded key into the box and save. Next we need to clone the repository using git.
~$ git clone git@ssh.dev.azure.com:v3/{your org}/{your project}/{your project}
Cloning into '{your project}'...
The authenticity of host 'ssh.dev.azure.com (40.81.159.67)' can’t be established.
RSA key fingerprint is SHA256:ohD8VZEXGWo6Ez8GSEJQ9WpafgLFsOfLOtGGQCQo6Og.
Are you sure you want to continue connecting (yes/no)? yes
Warning: Permanently added 'ssh.dev.azure.com,40.81.159.67' (RSA) to the list of known hosts.
You will get a local password prompt to unlock your private key, with a tick box option to auto-unlock when you are logged in.
Helpfully, the public key hash is listed on the add key page. This is excellent practice and you should never blindly trust a server and type yes without checking.
So, compare the hash on your console with the SHA256 one on the page (not MD5, it’s 2019).
Unhelpfully, the add page is not correct and the hashes don’t match.
The add key page lists YGzJgZudZVkYdnmgPuLFFgWE6CLA+cTuTcm+Jbs7g0Q but the actual key is ohD8VZEXGWo6Ez8GSEJQ9WpafgLFsOfLOtGGQCQo6Og. I was worried my connection might have been intercepted!
Fortunately it is correct on the docs page, just not on the SSH page linking to it that you’ll actually be on! This page also has mixed messaging about preferred credential systems compared to the docs. I don’t know why this SHA hash isn’t automatically updated. It wouldn’t be hard and manual processes are easily forgotten about.
In the next post in this series I’ll be covering builds using YAML code and why this is better than the old manual method. So check back to learn how to build / test your .NET Core project in a Linux VM on Azure and publish artefacts ready for release.