Azure DevOps is the latest re-branding of what used to be called VSTS (Visual Studio Team Services) and before that Visual Studio Online. It is the cloud hosted version of TFS (Team Foundation Server), which is now called Azure DevOps Server. Confused much yet? That’s understandable.
It may have a new name and a new skin but it’s still the same product as VSTS/TFS underneath. It’s designed to integrate well with Visual Studio, which is a good idea in principle but in practice it’s not as smooth as it could be. This friction seems to be a common problem with Microsoft products. There are lots of services and applications that work well on their own but it would appear that there is nobody looking at the overall picture.
Azure DevOps itself is a combination of products and does continuous delivery from start to finish. This includes agile planning with Kanban boards, Source Control Management (SCM) hosting with git, Continuous Integration (CI) builds and automated deployment releases. You could put something similar together by combining Trello/Wekan, GitHub/GitLab, TeamCity/AppVeyor and Octopus Deploy but Azure DevOps works out of the box. However, once you dig deeper you find that the experience is not quite as unified as it could be and it is obvious where the seams are.
Other posts:
- Building branches
- Building pull requests
- Azure DevOps part two (planning)
- Azure DevOps part three (SSH sync)
- Azure DevOps part four (YAML pipelines)
- Azure DevOps part five (release pipelines)
I generally avoid Windows if I can but sometime you need to work with things on a domain. One of the most interesting features coming in .NET Core 3.0 is “Windows” authentication on Mac and Linux but that can wait for a future post.
Visual Studio 20191 has a free community edition that is easy to get started with. However, what is not obvious is that even though it is “free” you are actually on a 30 day trial. At the end of this you need to register it online with a live account to keep using it. Keep this in mind if you plan on doing some hacking away from an internet connection towards the end of the trial of this “free” IDE!
This online requirement (VS will simply refuse to run if you don’t have internet once a license has gone “stale”) poses an interesting question. Does this mean that when MS update their terms of service (as they do fairly often) and if you don’t agree to the new terms, then you have to stop using the software you installed under different terms?
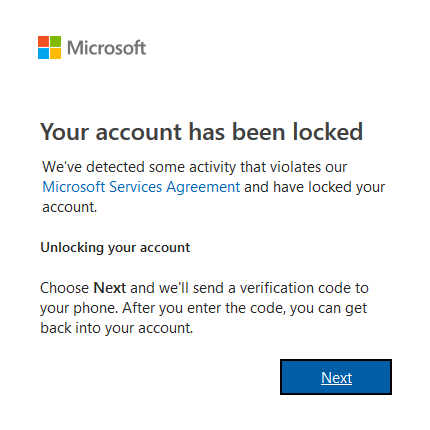
What happens if your account gets locked? If you try to log in to some other MS services you may get a scary warning but don’t worry, your account is not actually locked. This doesn’t inspire confidence that an innocent technical error wouldn’t lock you out of writing code, with little recourse.
This annoying move is one of many nudges to get you to use Microsoft services. The thinking must be that if you already have a live account then it should be easy to get going with Azure DevOps, MS Teams or other products. Unfortunately, it doesn’t always work as smoothly as you’d hope. It can often be easier to get started with a competing service such as GitLab or Slack.
Troubleshooting
So here is a some advice on how to host your code on Azure DevOps after you have set up a live account and activated your “free” community version of VS.
When you use the Team Explorer in VS to try to push your code following the prompts in the app then you may get the following unhelpful error message.
VS850048: The specified region: CUS is not supported by the current instance.
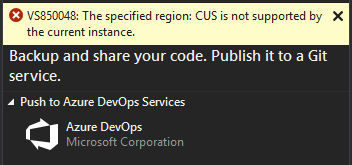
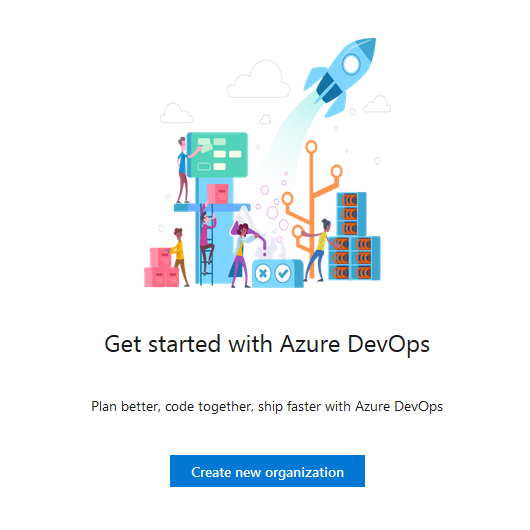
What this actually means is that you need to use a web browser to login and confirm the same info that you’ve already entered. You also need to tick a legal agreement. After this you can create your organisation / project. However, don’t create your repository manually, this is done automatically by VS.
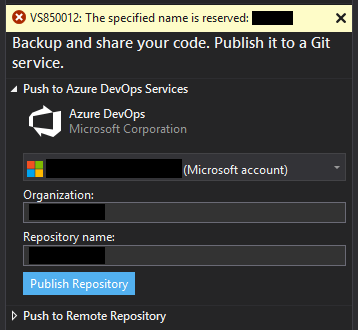
If you get the following error then this just means that you need to refresh the VS team window.
VS850012: The specified name is reserved: {org name}
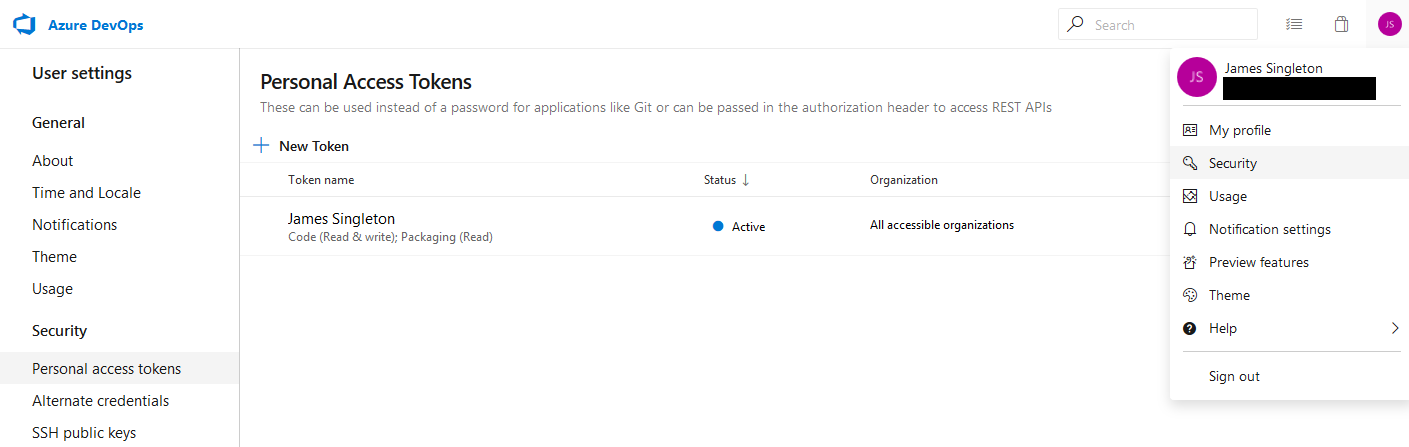
To interface with the remote git repository (and push code) without messing with SSH keys you need to use a Personal Access Token (PAT). You don’t need to create this manually as, again, VS will add one for you. You can however inspect it in the web interface (in the security section of your user settings).
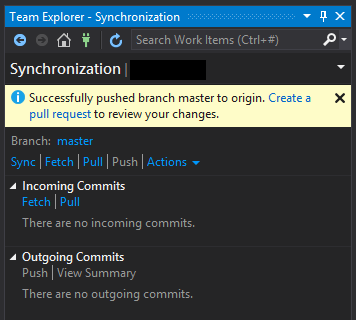
You can now push or sync (pull and push) your local code with the remote repository hosted on Azure DevOps. If you are working in a team then you will want to work on separate branches and create pull requests to merge your code.
In the next few posts I’ll provide some tips for using the planning and collaboration features. I’ll also show how to set up CI build/test pipelines for .NET Core on Linux VMs using the new YAML code approach and how to automate deployments of releases to your on-premise servers with agents and deployment groups.
If you find these guides useful then let me know and I’ll put together an eBook with more detailed steps.
- This is the Windows only version of Visual Studio. The macOS version of VS is a different piece of software with an alternate lineage. If you want something that is cross-platform (and not a 32-bit single-threaded CPU hog) then you may want to check out JetBrains Rider or VS Code. ↩