For this post in my series on performing CI with Azure DevOps I’ll be covering build pipelines using YAML code and why this is better than the old manual method. I’ll show how to build and test your .NET Core projects in a Linux VM on Azure and publish the resulting artefacts ready for release.
Other posts:
- Building branches
- Building pull requests
- Azure DevOps part one (code)
- Azure DevOps part two (planning)
- Azure DevOps part three (SSH sync)
- Azure DevOps part five (release pipelines)
The original way of setting up builds in TFS / VSTS was very manual and via the web UI only. This is suboptimal and as with provisioning environments, configuration should be code to ensure consistency. This means it can easily be version controlled, reviewed and repeatedly run in a deterministic way.
Traditionally I would have used CAKE or FAKE DSL scripts for this so the build has the bare minimum of config. These are still beneficial if you want to keep your project portable and run it on Travis, Jenkins, AppVeyor or TeamCity.
However, there have been recent improvements to Azure DevOps (at least the builds part) to include a YAML option for configuring pipelines.
The build is configured with an azure-pipelines.yml file that lives in the same git repository as your code so they don’t get out of sync.
Creating a Pipeline
Time to create a new build pipeline. These are the steps we want to happen:
- Build all the projects (in release mode)
- Run all the unit tests (fast & no dependencies)
- Publish the main application (to a deployable package)
- Publish a build artefact (out of the pipeline for a release to deploy)
The two publish steps may be a little confusing. The first is using the dotnet tool to create your application package and the second is the way you get that package out of the build pipeline so it can be used later.
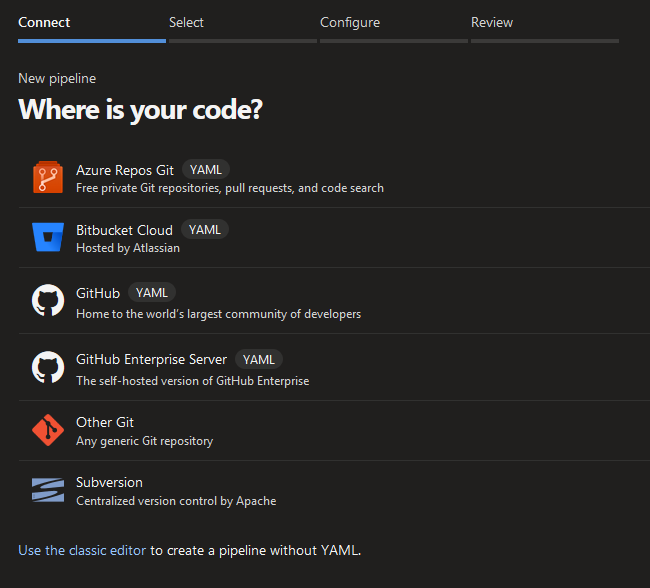
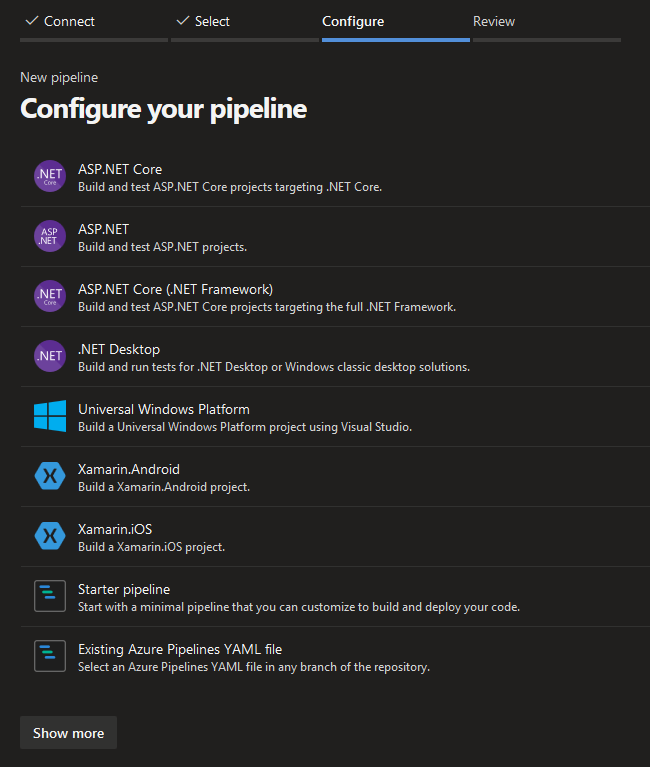
The easiest way to get started after connecting / selecting your repository is to use one of the templates that provide boilerplate YAML and then customise it. I used the ASP.NET Core (first) one as a base.
This is what my final YAML file looks like after adding all of the steps.
# ASP.NET Core
# Build and test ASP.NET Core projects targeting .NET Core.
# Add steps that run tests, create a NuGet package, deploy, and more:
# https://docs.microsoft.com/azure/devops/pipelines/languages/dotnet-core

trigger:
- master

pool:
  vmImage: 'ubuntu-latest'

variables:
  buildConfiguration: 'Release'

steps:
- script: dotnet build --configuration $(buildConfiguration)
  displayName: 'dotnet build $(buildConfiguration)'
- task: DotNetCoreCLI@2
  inputs:
    command: 'test'
    projects: '**/*Tests/*.csproj'
    arguments: '--configuration $(buildConfiguration)'
  displayName: 'dotnet test $(buildConfiguration)'
- task: DotNetCoreCLI@2
  inputs:
    command: 'publish'
    publishWebProjects: true
    arguments: '--configuration $(buildConfiguration) --output $(Build.ArtifactStagingDirectory)'
  displayName: 'dotnet publish $(buildConfiguration)'
- task: PublishBuildArtifacts@1
  inputs:
    PathtoPublish: '$(Build.ArtifactStagingDirectory)'
    ArtifactName: 'drop'
    publishLocation: 'Container'
The first step is defined as a script in the template but it could could be a task like the others. If you’re using Visual Studio then it can be helpful to add this file to your solution items.

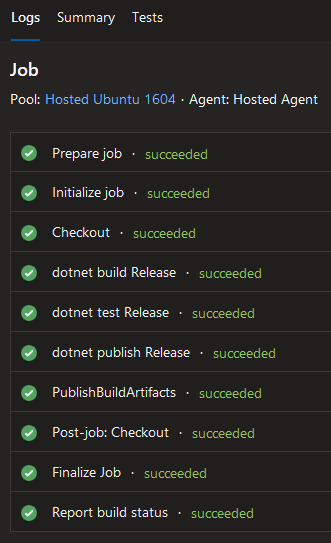
Once this is committed then push a change to your code to trigger a release or run one manually. If it all works then you should get green logs / summary.
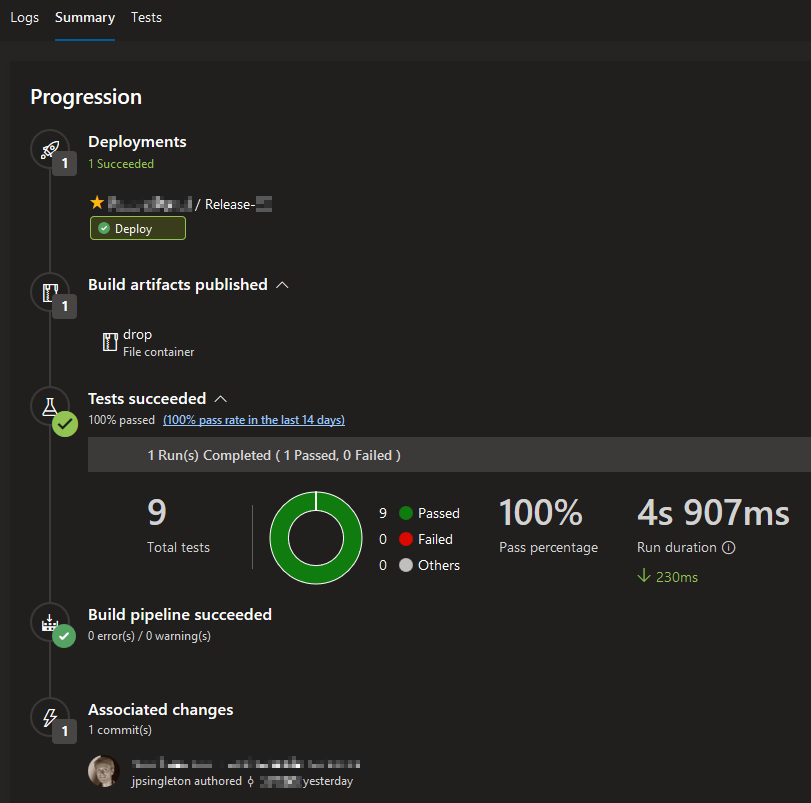
Don’t worry about the deployments bit yet. I’ll get to that in the next post in this series.
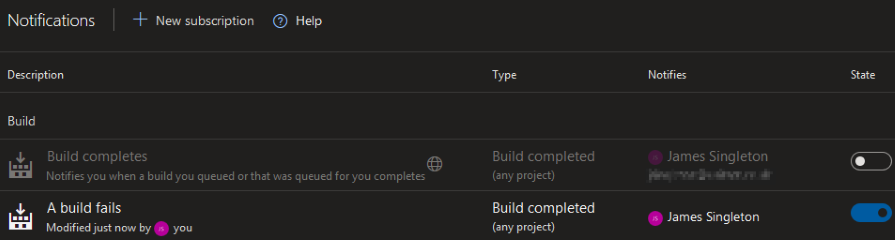
Notifications
You will want to change your email settings, as by default you will be sent an email for every build (even successful ones). You can turn the build completes notification off and add a new one to be informed only of failures.
You will also get marketing emails trying to lure you into other features of Azure DevOps, even if you unselected the consent boxes during registration.

You may need to refine your spam rules by reporting these emails.
If the email contains an RFC 2369 List-Unsubscribe header then you may also be removed from the list automatically.
Tips
I like to build and test on Linux VMs, even if I am developing and deploying on Windows (and vice versa).
This allows you to constantly check compatibility and ensure your application remains portable.
This approach won’t work for native or self-contained builds, as there is no cross-compilation option for this.
You also can’t use SQL database projects (.sqlproj) on Linux, so you will need to use EF Core code-first migrations.
You will sometimes get random build failures and the easiest thing to do is to re-run them manually. These Heisenbugs are often caused by NuGet access problems from the build agent during package restore. It would be great if they could be made more reliable or have an option to automatically re-run once before failing.
In the next and last post in this series I’ll show how to automate deployment of releases to your on-premise Windows servers with agents and deployment groups. If you’d like to learn more about best practices for build / test pipelines with .NET Core/Framework and frontend SPAs such as Angular/React then let me know. You can also subscribe to the email list below to hear about my future writings.