Continuous Delivery is not just about Continuous Integration (CI) but also about Continuous Deployment. I’ve covered CI over the previous posts in this series and now it’s time to deploy some releases using Azure DevOps.
One of the reasons that I like Azure is that they provide low-carbon intensity computing. Google Cloud is also good in this regard but AWS is pretty bad and many regions run on dirty coal power.
Previous posts:
- Building branches
- Building pull requests
- Azure DevOps part one (code)
- Azure DevOps part two (planning)
- Azure DevOps part three (SSH sync)
- Azure DevOps part four (YAML pipelines)
Releases
Products like Octopus Deploy are traditionally better at doing releases, as they focus on doing one thing well. However, there is some value in having everything in one place on Azure, even if none of the parts are best-in-class.
Having said that, the unified experience isn’t quite as seamless as it could be. The releases component of Azure DevOps was clearly developed separately to the rest and then bolted on. There are some pretty big differences, particularly in the version control and API.
Install Agent
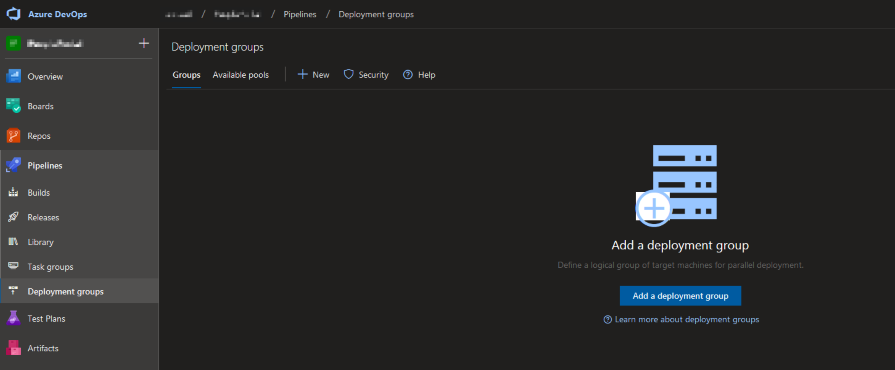
If you are planning to deploy to on-premises servers (or anything you manage yourself) then you will need to install the agent software on those boxes. This is a simple case of creating a deployment group and registering the agent to it (running some PowerShell on Windows or a Bash script on Linux). It normally goes pretty smooth (if the firewalls aren’t too strict).
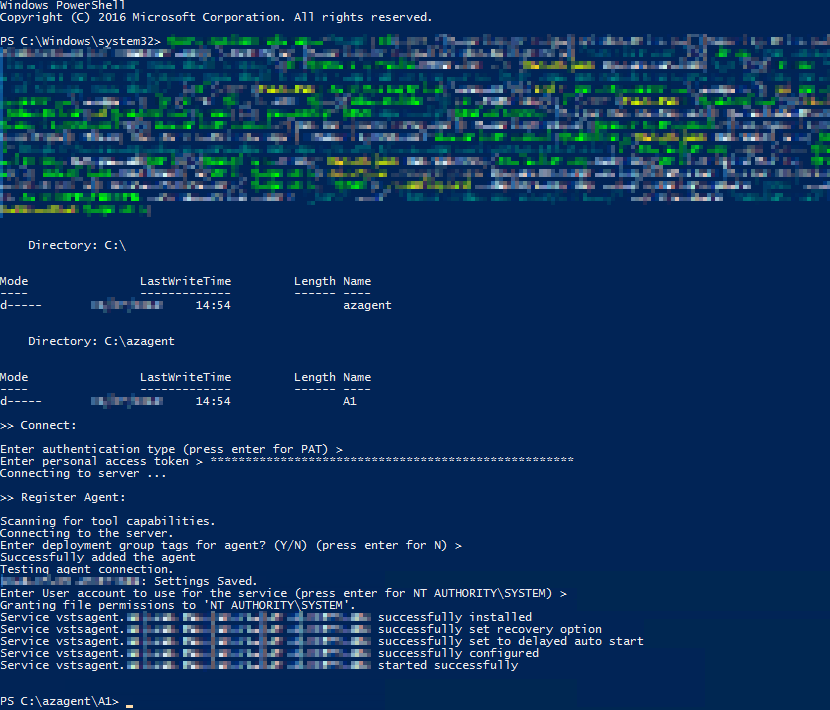
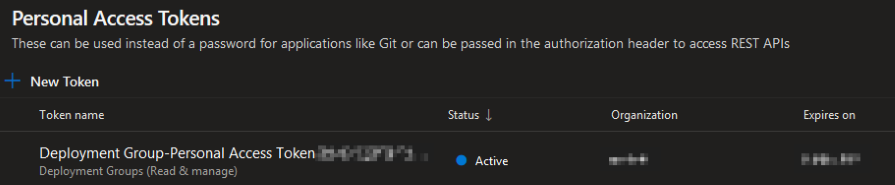
Optionally, a Personal Access Token (PAT) with a short expiry is created for this job (as soon as you tick the box). This PAT is only needed for the agent registration and can be deleted (revoked) after. If you don’t plan to perform the install immediately then you may want to increase the validity period.
Configure Release
The next step is to configure the release pipeline. Unfortunately, this is not as codified as with builds but you can view a change history diff as JSON. It helps to enter a comment when you save your changes so you have some context.
You can view the YAML for individual tasks. However, this isn’t as polished as for builds so it’s easier to configure it via the web UI.
An important thing to keep in mind is that you can edit the release template and historical releases. It’s best to edit the template so that changes will be picked up for future releases. However, this means you need to remember to create a new release to pick up any changed settings.
Manage Step
The first step in releasing a web app to IIS is to manage/configure the webserver. You can inject variables, which I’ll get to later.
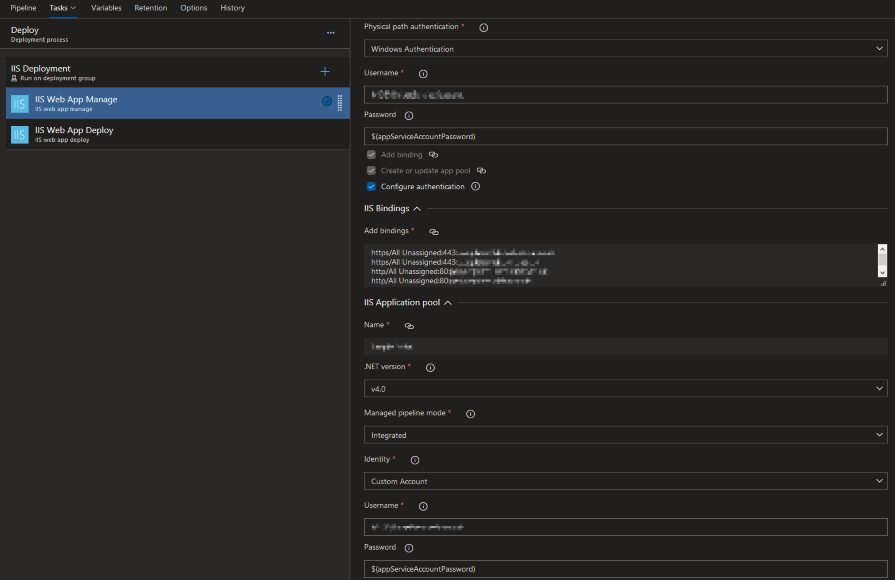
This is all fairly straightforward. The only complication is with the HTTPS binding and SSL certificate thumbprint validation. Make sure there aren’t any spaces in the thumbprint when pasted in (like Windows displays it), otherwise it won’t save (even when fixed in situ).
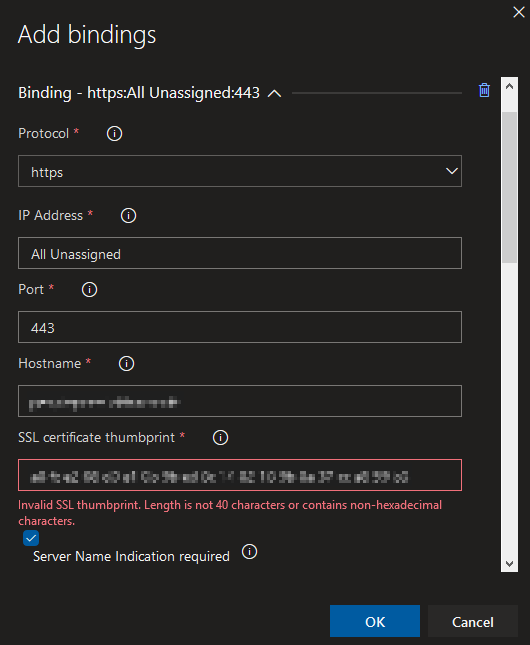
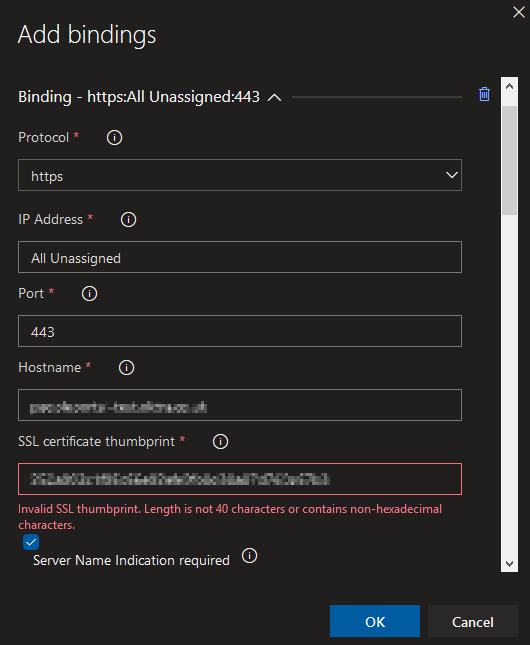
Bindings are set at the deployment process stage level and not at job or task level. Setting bindings doesn’t remove existing bindings on the server so your configuration may not be the final state.
Deploy Step
The last step is to substitute variables in config files for live ones and deploy to the server.

The variable transform and substitution function is built in to the deploy task (but there is a separate official task also available). If you are using the JSON config files for .NET Core then you can un-tick the legacy XML option. It’s also a good idea to take the app offline to avoid any file locks during a deployment.
The Lost Art of Keeping a Secret
It’s important to guard against leaking any important secrets. These could be things like database credentials, API keys and passwords. You should have different secrets for every environment, just like I’m sure you have unique passwords for all of your online accounts (right!).
During development you can use the secret store, which keeps your important information outside of source control (so you don’t accidentally check it in).
This will automatically replace values from your appsettings JSON config files on your development machine.
When releasing to a test or production environment you should inject your (different) secrets at deployment time. Azure DevOps has a way to store these values that keeps them hidden from users. You can input a value once and it is available to releases but it can’t be read out from the web UI and isn’t shown in logs. You can use these variables both directly in steps (as shown above) and for substitution in configuration files.

When using release variables there is no need for escaping certain characters, as is needed when storing these values in JSON files.
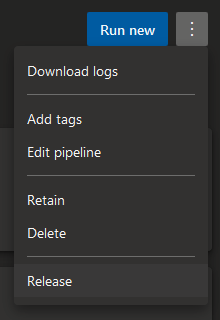
Create a Release
You can automate the creation of releases but you may not want a production release created from every build clogging up your lists. If you take a cut every sprint then you may want to manually create your release candidate from a master or release branch build, depending on your branching strategy.
If you create a release from the web UI then you may see this error.
VS402962: No artifact version ID is specified corresponding to artifact source ‘{redacted}’. Specify a valid value and try again.
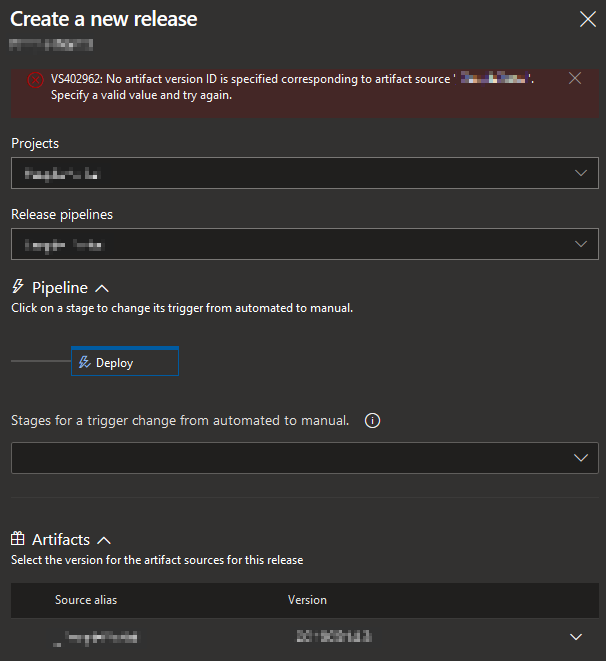
This is an annoying bug in Azure DevOps (not just the less-correct spelling of artefact). It happens fairly regularly and the solution is to just, sigh, refresh the page and try again.
If you are using the new preview layout (which may become the default) then the release is an extra step (backwards) away. However, the above error still occurs.
Deploy
While you can set releases to be deployed automatically as soon as they are created, you probably don’t want this for your production environment, unless you have a super sweet test suite. It’s wise to at least give your app a kick in a test environment and look it over. This means you will deal with manual and gated releases at some point.
If you have a bureaucratic organisation then you may have to set up various groups to approve a live deploy and these groups can have multiple users. For example, you can have business, infrastructure and tech-lead sign-offs, with a deputy stand-in so any absences don’t delay the deployment.